Like choosing the right wrench for a stubborn bolt, picking between DIY and a pro for garage door installation hinges on your skills, tools, and tolerance for risk. You’ll handle heavy panels, tensioned springs, precise leveling, and code requirements. Missteps can cause injury, property damage, or chronic misalignment. If you’re weighing costs, timelines, and long-term reliability, you need a clear, safety-first plan—because the next decision dictates how smoothly that door rolls tomorrow.
Key Takeaways
- DIY is feasible for like-for-like sectional doors with pre-tensioned or extension springs; avoid torsion spring setups without pro tools and training.
- Verify headroom/backroom, plumb jambs, and track alignment; improper framing or misalignment risks binding, cable derailment, and premature wear.
- Factor total costs: parts, specialty tools, time, potential rework/damage, versus pro labor, calibrated setup, and warranty coverage.
- Safety first: high-energy torsion systems, heavy panels, and ladder work demand strict PPE, correct fasteners, and torque checks; know your stop-point.
- Pros recommended for torsion springs, structural changes, opener wiring, or code/permit needs; ensures balance, sensor calibration, and reliable operation.
Assessing Your Skills, Tools, and Time
Before starting, honestly assess your ability to handle a heavy, spring-loaded door with precise alignment. Evaluate comfort with torque, level/plumb checks, anchoring, and safe spring handling, pause if unsure.
Inventory tools: torque wrenches, SDS drill, winding bars, magnetic level, feeler gauges, locking pliers, PPE, and rated ladders. Verify fasteners, clearances, and substrate.
Plan uninterrupted work blocks for layout, hardware, spring setup, and testing. Account for misdrilled holes, out-of-square openings, or missing parts. Set a stop-point to call a professional if tolerances or safety can’t be met.
Understanding Garage Door Types and Complexity
You’ll choose between sectional and roll-up doors, each with distinct track layouts, torsion hardware, and clearance requirements that affect installation complexity.
Match the door type with your headroom, backroom, and jamb structure, then verify load ratings and spring specifications.
Select insulated materials (polystyrene or polyurethane) based on R-value, weight impact on spring sizing, and safety during cutting, fastening, and lifting.
The difficulty depends on design, and different types of garage door installation can significantly change the tools, steps, and risk level.
Sectional vs. Roll-Up
Sectional and roll-up doors differ in mechanics, space, installation, and maintenance.
Sectionals use hinged panels on tracks; roll-ups coil a single curtain above the opening. Sectionals are easier for DIY, allow simple panel replacement, and use standard hardware. Roll-ups save headroom, resist tampering, and are more rugged.
Handle torsion springs carefully, brace tracks square, and torque fasteners to spec. Roll-ups often need heavy drums, high-cycle springs, and precise shaft levelling. Hire a pro if needed.
For both, lock out power, clamp tracks, and ensure a balanced lift before connecting the opener.
Insulated Material Choices
Although aesthetics matter, prioritise the door’s core and skin because insulation drives weight, stiffness, noise, and energy performance, and it affects installation complexity and safety. Choose insulation types based on R‑value, panel construction, and serviceability. Polystyrene is lighter and simpler to fit; polyurethane is denser, quieter, and increases energy efficiency but adds weight and requires precise spring balancing. Verify panel gauge, hinge ratings, and track alignment to handle added mass.
| Core type | Typical R‑value | Install notes |
|---|---|---|
| Uninsulated | ~R‑1 | Easiest; loud; poor thermal control |
| Polystyrene | R‑6 to R‑9 | Light; cut-to-fit; moderate sealing |
| Polyurethane | R‑12 to R‑18 | Heavier; pro spring setup recommended |
| Composite/Steel skins | Varies | Durable; watch fastener pull‑through |
If DIY, recalc spring torque, upgrade lift cables if needed, and add perimeter weatherseals to prevent racking and maintain energy efficiency.
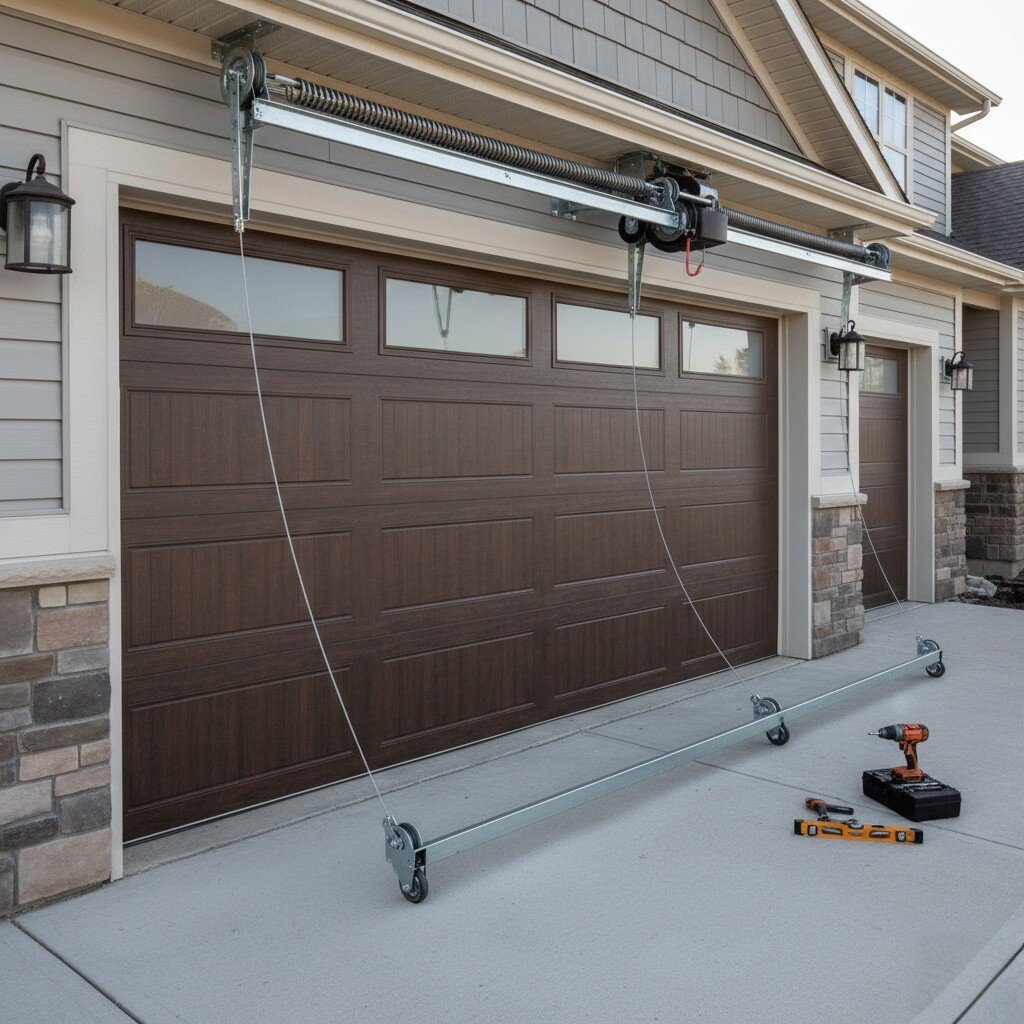
Safety Risks: Springs, Ladders, and Heavy Panels
Before handling any component, recognise that garage door work concentrates high energy, height, and weight into a small workspace. Treat torsion systems with respect: spring tension stores lethal force. Never loosen set screws or winding cones without correct bars, locking pliers on the shaft, and marked turns. De-energise the opener and clamp tracks before any adjustment.
Prioritize ladder safety. Use a Type I or IA ladder on level ground, maintain three points of contact, and never overreach; reposition instead. Keep helpers clear of fall zones.
Manage heavy panels methodically. Panels can twist, shear fingers, or collapse. Use two installers, stabilising braces, and lifting straps. Secure each section with temporary fasteners as you stack.
Verify track plumb, anchor torque, and cable routing before cycling the door by hand.
Before attempting any DIY work, follow garage door installation safety tips to reduce the most common injury risks during setup.
Cost Breakdown: DIY Expenses vs. Professional Pricing
Given the risks you just assessed, weigh the real cost of doing it yourself against hiring a pro. Price parts, tools, and time with the same rigour you’d apply to load limits and torsion torque. Your DIY budget must include contingencies for rework, injuries, or damaged panels. Pro rates typically bundle labour, disposal, calibrated winding tools, and warranty—costs you’d otherwise absorb.
| Item/Factor | DIY Budget Estimate | Pro Rates/Notes |
|---|---|---|
| Door + Track Kit | Moderate; kit price only | Included; verified compatibility |
| Torsion Tools/PPE | New purchase or rental | Included; calibrated equipment |
| Labor Hours | 6–10 hrs; your time | 2–4 hrs; trained crew |
| Risk/Errors | Higher; potential damage | Lower; liability insured |
| Warranty/Service | Limited; parts-only | Full labor/parts coverage |
Compare total outlay, risk exposure, and post-install service before deciding.
The final quote often comes down to hardware, labor, and add-ons—see garage door installation cost factors that most homeowners overlook.
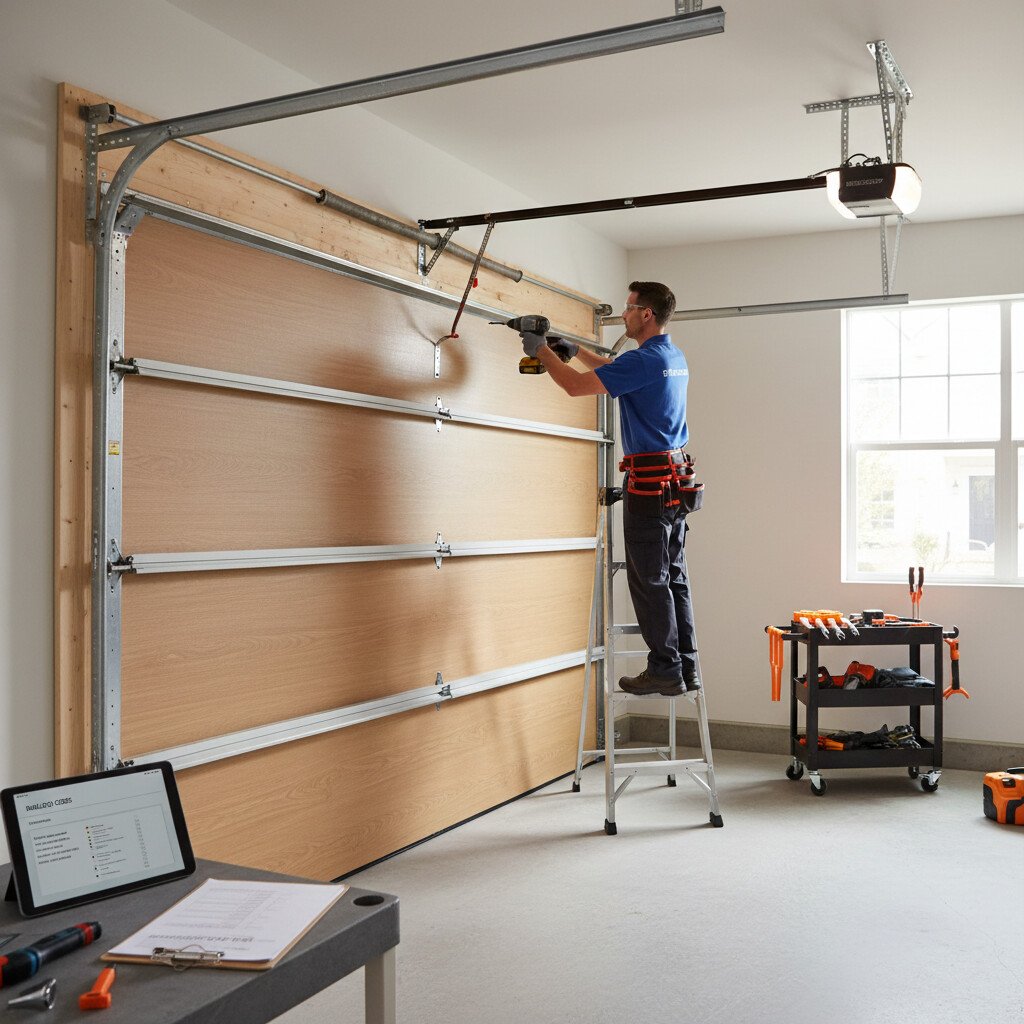
Step-by-Step Overview of a DIY Install
Start with a site-safe setup: disconnect power to the opener, lock out/tag out the circuit, and clear the work area.
Verify header framing, opening size, and level floor. Review the manual, your tools checklist, and spring warnings. Wear eye, hand, and head protection. Stage panels, tracks, and fasteners before lifting.
Verify framing, measure the opening, and ensure a level floor. Review the manual, PPE, and spring warnings.
- Assemble bottom panel, install lift handles, and set weather seal uniformly.
- Plumb and anchor vertical tracks; confirm backhang and clearances per installation tips.
- Stack panels with hinges, insert rollers, then install horizontal tracks square to the opening.
- Mount torsion tube, center bearings, and drums; wind springs to spec using winding bars only.
- Set cable tension, test balance by hand, then adjust limits and force after reconnecting power.
Torque-check all fasteners and recheck safety sensors.
Accurate prep is everything, and garage door installation measurements help prevent track misalignment and poor sealing during a DIY install.
What Professionals Provide: Precision, Codes, and Warranties
Professionals ensure precise, code-compliant installs with documented warranties. They measure openings, plumb tracks, square headers, torque fasteners, set spring tension, and verify lift and cable alignment.
Openers are programmed with proper force and travel limits, photo-eyes installed, and UL 325 reversal tested. Pros handle permits, wind-load, and fire-separation requirements.
You receive documentation, inspections, and warranties covering parts, labour, and calibration. They finish by lubricating rollers, validating balance, cycle-testing, and providing safety instructions.
When DIY Makes Sense and When It Doesn’t
When should you tackle a garage door install yourself, and when should you call a pro? Start with disciplined project planning and a complete tools inventory. If you’re replacing a like-for-like sectional door, have accurate framing, and understand manufacturer instructions, DIY can be safe and efficient.
Tackle like-for-like installs with solid planning, accurate framing, and manufacturer-guided DIY confidence.
If torsion springs, structural changes, or electrical integration are involved, hire a professional to control risk and ensure code compliance.
- Verify headroom, backroom, and plumb tracks before committing.
- Confirm your tools inventory includes torque wrenches, winding bars, levels, and PPE.
- Choose DIY only for extension springs or pre-tensioned systems; avoid torsion spring work.
- Assess door weight rating vs. opener capacity; match hardware precisely.
- Stop and call a pro if alignment drifts, cables fray, or binding occurs.
Timeline, Maintenance, and Long-Term Reliability
Plan one day for a like-for-like sectional install, two to three days for structural changes, wiring, or permits. Allow time for spring setup, track alignment, and sensor calibration; don’t energise the opener until balanced.
Maintain quarterly visual inspections, semiannual fastener torque checks, spring lubrication, and annual balance tests. Replace frayed lift cables and test auto-reverse/photo-eyes monthly.
Long-term reliability requires correct spring sizing, plumb tracks, reinforced jambs, proper cable routing, weatherseal fit, and surge-protected power. Document parts, cycle ratings, and torque for future service.
Long-term durability depends on balance, usage, and maintenance—review garage door lifespan after installation to avoid premature wear.
Conclusion
In the end, you’re the project manager. Weigh your skills, tools, and time like a load on a beam. If torsion springs and heavy panels feel like walking a narrow scaffold, hire a pro with calibrated instruments, permits, and warranties. If you’re equipped and methodical, a DIY install can run like a well-aligned track. Set a clear timeline, verify code compliance, and plan maintenance. Choose the path that minimises risk and keeps the door rolling smoothly for years.