Like Icarus with waxen wings, you might feel confident until the mechanics and codes catch up with you. Garage doors carry high-tension forces, heavy sections, and live circuits that demand calibrated tools and strict compliance with UL 325 and local building codes. A misstep can cause crush injuries, spring recoil, or an electrical fault—and void warranties or insurance. You can tackle some tasks safely—but which ones, and what’s the threshold where a pro becomes nonnegotiable?
Key Takeaways
- Torsion springs store dangerous energy; mishandling can cause severe injuries without calibrated winding tools and proper restraint.
- Improper adjustments can misalign the door, overload tracks, strip opener gears, and worsen damage.
- Miswired or bypassed safety sensors defeat entrapment protection, creating liability and safety code violations.
- DIY electrical or structural work can violate codes, void warranties, and jeopardize insurance coverage.
- Lack of certified PPE and training increases risk of crushing, lacerations, eye injuries, and costly mistakes.
DIY vs Pro: Garage Door Repairs-What’s Safe?
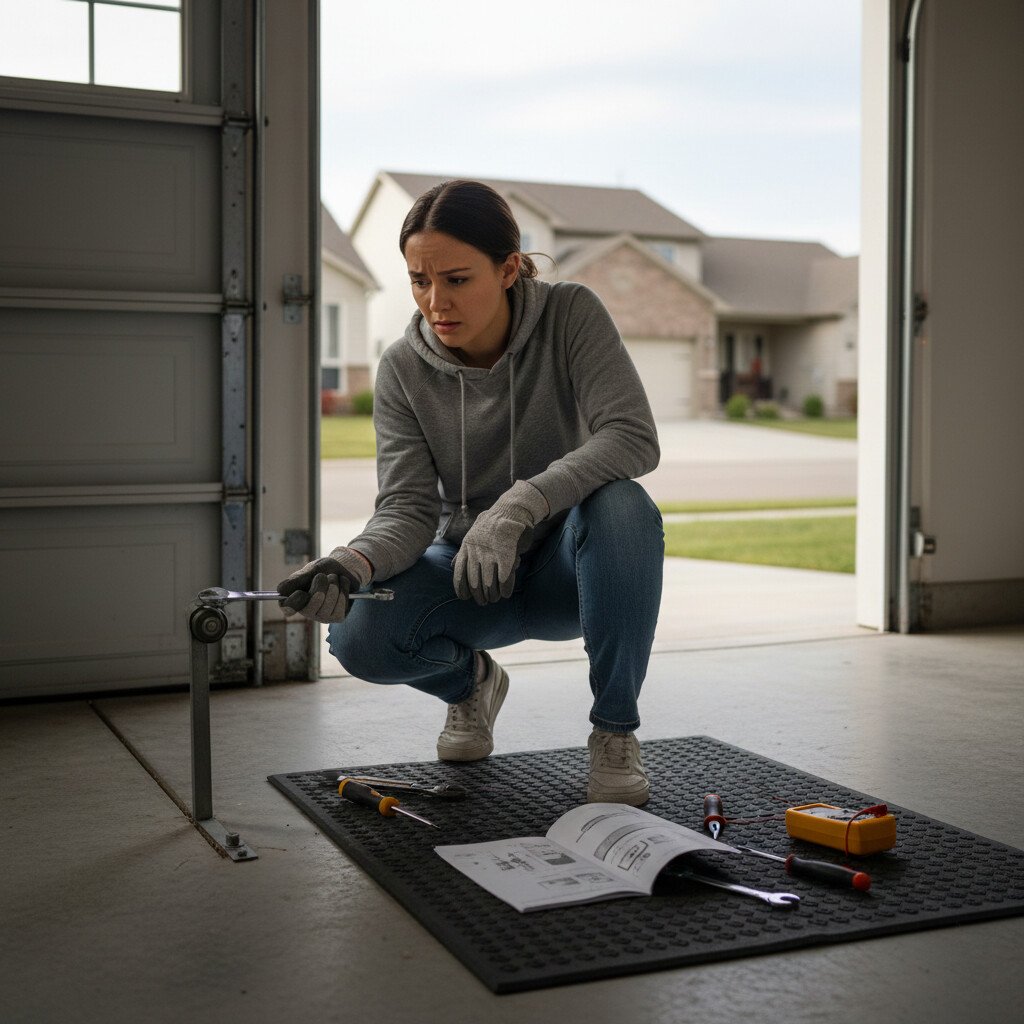
Before you reach for tools, separate tasks that are genuinely DIY-safe from those that demand a licensed pro. You can tighten track bolts, lubricate rollers and hinges with silicone, replace remote batteries, align photo-eyes, and test auto-reverse and force settings per manufacturer specs.
Follow Safety Protocols: lock-out/tag-out the opener, unplug power, use rated ladders, and wear eye protection.
Respect DIY Limitations. Don’t tension or replace torsion springs, lift cables, or bottom brackets; these components are under high load and require calibrated winding bars and torque specs.
Electrical hardwiring, opener rail replacement, and structural header repair also warrant a professional for code compliance.
The Real Risks of DIY Garage Door Repair
You’ve seen which tasks are DIY-safe and which require a licensed tech; now consider what’s at stake when you cross those lines.
You risk crushing hazards, electrical faults, and door misalignment that violates code. Without calibrated tools and safety protocols, you can overload tracks, strip opener gears, or defeat travel limits, causing uncontrolled movement.
Miswired sensors can nullify entrapment protection, exposing you to liability and insurance denial.
Online repair myths encourage bypassing photo-eyes, using mismatched hardware, and ignoring torque specs. You could void warranties, damage framing, or create fall hazards.
When tolerances, load ratings, and UL 325 compliance matter, guesswork fails.
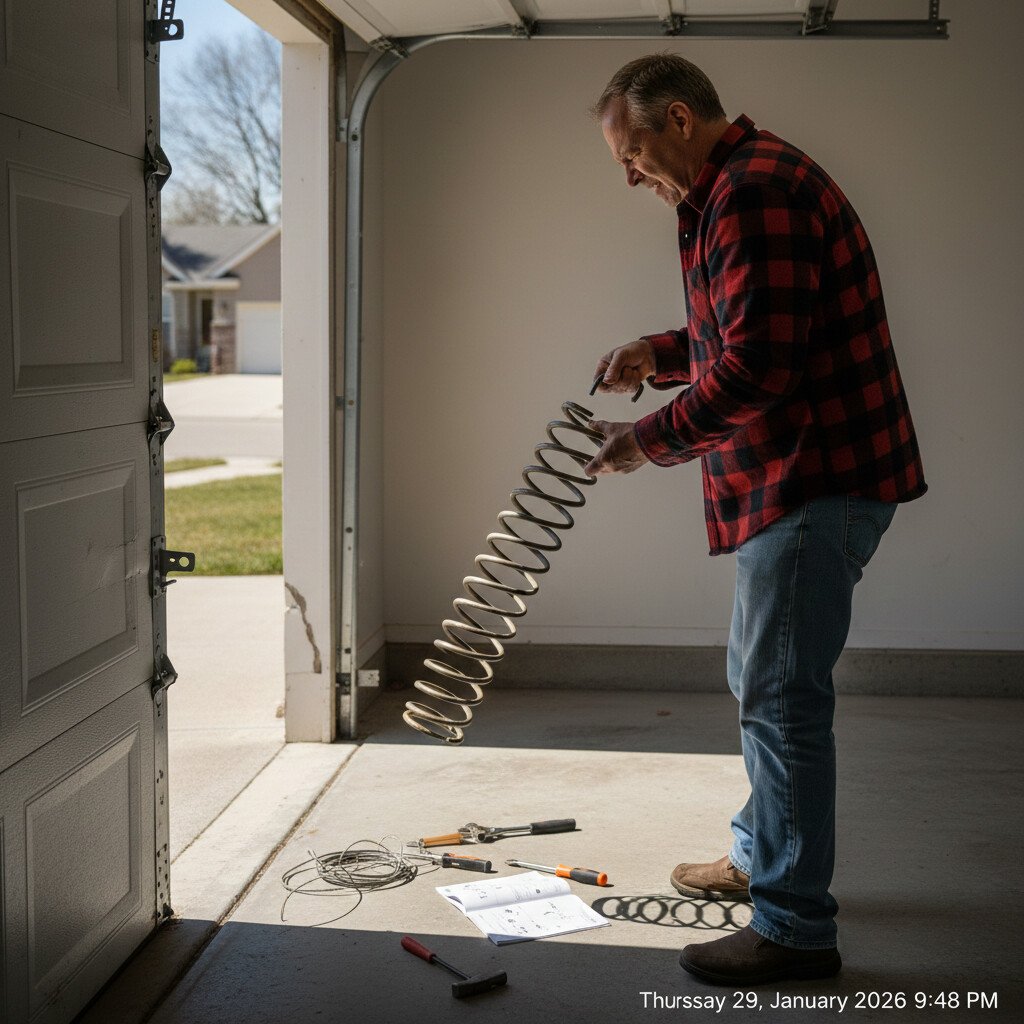
Garage Door Torsion Springs: Why They’re So Dangerous
You’re facing a component that stores hazardous kinetic energy, capable of releasing thousands of inch-pounds in an instant.
Without calibrated winding bars, locking pliers, and proper restraint methods, you can lose control of the shaft, cone, or cable drum and trigger catastrophic failure.
Follow manufacturer specifications and applicable code and safety standards; if you lack the tools and training, don’t attempt torsion spring service.
Garage door springs operate under extreme tension, and improper handling can cause serious injury or property damage. If you’re unsure about releasing tension safely or identifying spring damage correctly, understanding when professional spring repair is necessary for your garage door can help you avoid costly and dangerous mistakes.
Stored Energy Hazards
Although a garage door looks simple, its torsion springs store significant potential energy—often hundreds of foot‑pounds—that can release instantaneously if mishandled.
You’re working beside a wound steel element designed to counterbalance a 150–300 lb door. Sudden energy release can fracture bone, lacerate, or cause eye injury.
Even a quarter‑turn error shifts torque beyond safe limits. Lock the door in the down position, disconnect power, and keep bystanders clear.
Follow manufacturer specifications and local codes for containment, tagging, and controlled unwinding.
Never touch set screws or lift cables under load. If anything binds, stop. De‑energize the system before any adjustments.
Proper Tools Required
Tools matter. Torsion springs store lethal energy, so proper tool selection isn’t optional—it’s your first control measure.
Use machined, tempered winding bars sized to the cone’s sockets; never substitute screwdrivers or rebar. Verify bar length and diameter per manufacturer specs. Secure the shaft with locking pliers, and support the door with rated stands.
Employ calibrated torque wrenches for set screws and anchor bolts. Choose impact-rated sockets, not worn hex keys.
Wear essential safety equipment: ANSI Z87.1 eye protection, cut‑resistant gloves, a hard hat, and steel‑toe footwear. Follow UL 325 and local building codes.
If tools aren’t exact, stop.
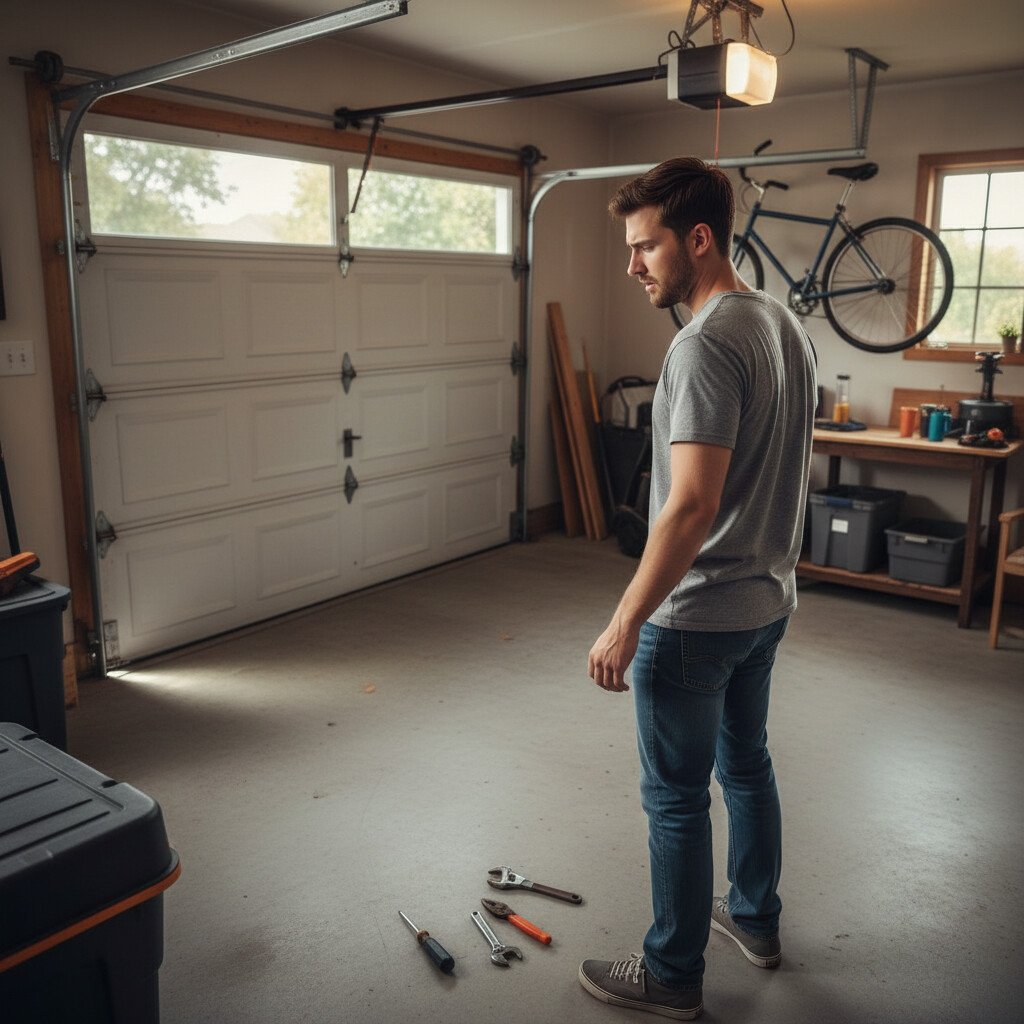
Common DIY Garage Door Mistakes and Consequences
You might attempt to adjust tension springs without proper tools or lock-down procedures, creating uncontrolled torque release that can cause severe injury and code violations.
You may also run the door on a misaligned track, which stresses rollers, bends the horizontal angle, and damages bearings and panels.
To stay within manufacturer specs and ANSI/DASMA 103, you should stop work, de-energize the opener, and schedule a qualified technician.
Tension Spring Hazards
Because garage door counterbalance springs store immense energy, mishandling them is one of the most dangerous DIY mistakes. You risk a catastrophic tension spring malfunction if you loosen set screws or wind cones without rated winding bars and PPE.
Poor tension spring installation violates manufacturer specs and UL 325 expectations, creating unpredictable lift and sudden release.
- Verify door balance with the opener disconnected; an imbalanced door signals spring issues.
- De-energize the system; lock out power and secure door travel.
- Use calibrated winding bars; never use screwdrivers.
- Replace both springs together; match wire size, length, ID, cycle rating, and torque to label data.
Misaligned Track Damage
After addressing spring hazards, turn attention to the track system, where misalignment can bend rail sections, shear fasteners, and cause rollers to bind or jump the track.
You risk amplifying wear on bearings and hinges, overloading the opener, and violating UL 325 safety provisions. Improper track alignment creates racking forces that loosen jamb brackets and distort flag angles.
Over‑tightening bolts can dimple tracks, narrowing roller clearance. Misaligned sensors tempt you to bypass safeguards, but that masks, not fixes, hazards.
Use a level, plumb line, and manufacturer tolerances; adjust from bottom to top, equalize spacing, then torque fasteners to spec and test balance.
How DIY Can Void Garage Door Warranties and Insurance
Although DIY fixes can seem straightforward, unauthorized work on springs, openers, photo-eyes, or wiring often violates manufacturer terms and local code, voiding both product warranties and portions of your homeowner’s insurance.
You risk severe warranty implications and narrowed insurance coverage when components aren’t installed to UL 325 and IRC electrical standards.
- You alter force settings or bypass photo-eyes, breaching safety requirements and nullifying warranties.
- You splice opener wiring without permits, triggering claim denials after incidents.
- You replace torsion springs without certified parts, invalidating manufacturer guarantees.
- You skip documentation, failing to prove compliance during adjuster reviews, and increasing liability exposure.
Working with a certified garage door installation company helps preserve manufacturer warranties.
DIY vs Pro: The Real Costs of Garage Door Repair
Even if a YouTube tutorial makes it look simple, the true cost of DIY garage door repair includes more than parts and your time. When you add callbacks, misdiagnosis, and compliance checks, the cost comparison often favors a certified technician. Pros follow manufacturer specs, torque values, and NFPA/UL standards, protecting the door’s balance, opener limits, and sensors. You also risk longer repair timelines if you order the wrong components or overlook alignment tolerances.
| Factor | DIY vs Pro |
|---|---|
| Diagnostic accuracy | Variable vs calibrated |
| Parts sourcing | Retail vs OEM-channel |
| Code compliance | Uncertain vs documented |
| Downtime | Days vs hours |
| Liability | Personal vs insured |
Tools and Safety Gear You Don’t Have for Garage Doors
Three categories of equipment separate pros from DIY: precision tools, tension-control gear, and certified PPE.
You likely lack calibrated garage door tools and safety gear required by code and manufacturer specs. Without them, you can’t set torque, align tracks, or contain spring energy safely.
Without calibrated tools and code-rated PPE, you can’t set torque, align tracks, or contain spring energy safely.
- Tension-control: solid steel winding bars, calibrated torque wrenches, shaft locking clamps, and drum set screws rated to spec.
- Precision alignment: digital levels, laser plumb, track spreaders, and gap gauges for even seal compression.
- Diagnostic: spring scales, force meters, and insulated multimeters for opener circuits.
- Certified PPE: ANSI Z87.1 eye protection, cut‑resistant gloves, ASTM‑rated hard hat, and steel‑toe boots.
When you don’t have the right tools, the biggest risk is misjudging severity—especially when the door is heavy, jerking, or making impact sounds. This signs-your-garage-door-needs-repair guide helps you recognize when the safest move is to stop DIY and call a technician.
How to Choose a Qualified Garage Door Technician
If you don’t own calibrated garage door tools or certified PPE, hire a technician who does and can document it. Verify certification requirements: OSHA-10/30, lockout/tagout training, manufacturer-specific torsion systems. Ask for insurance, licensing, and written procedures referencing UL 325 and DASMA standards. Evaluate technician experience with your door type, opener class, lift cables, and safety sensors.
| Visual Cue | Meaning |
|---|---|
| Labeled gauges | Calibrated torque/tension tools |
| Tag on breaker | Active lockout/tagout |
| Binder of records | Service logs, test results |
Demand a scope, parts list, torque values, and post-repair balance test. Require warranty terms in writing.
A qualified technician should prove credibility with clear communication, documented warranties, and accurate diagnosis—not pressure and vague pricing. This guide on what to look for in a trustworthy garage door repair company helps homeowners verify standards before approving work.
Conclusion
Bottom line: you’re not just tightening a screw—you’re wrestling a 200‑plus‑pound, code-governed machine with springs that store enough energy to launch a toolbox into orbit. One wrong turn, and you risk misalignment, circuit faults, warranty voids, and insurance denials that cost a small fortune. Skip the guesswork. Hire a certified, insured technician who follows UL 325, ANSI/DASMA standards, and local code. You’ll get calibrated tension, tested safety circuits, compliant hardware—and your fingers, finances, and home intact.