Before you buy parts, you need to identify your door type, measure accurately, and note symptoms like uneven travel, slamming, or grinding. You’ll verify spring style and wire size, check cable fray, inspect rollers and hinges, and lock out the opener before any work. With the right gauge, torque specs, and safety gear, you can plan safe, effective repairs. Next, you’ll map each symptom to the exact component—and confirm what’s safe to tackle yourself.
Key Takeaways
- Identify your door type (sectional, tilt-up, roll-up, carriage) and material (steel, aluminum, wood, composite) before selecting compatible parts.
- Measure door width, height, track radius, and note track size, roller diameter, hinge gauge, cable thickness, and opener rail/drive type.
- Determine spring system (torsion or extension) and record spring wire diameter, coil count/length, and inside diameter for correct replacements.
- Inspect and replace worn parts: frayed cables, damaged drums/pulleys, bent tracks, cracked hinges, and noisy or seized rollers (match stem length/diameter).
- Follow safety protocols: lockout opener, clamp door, use proper winding bars and PPE, verify zero stored energy, and test balance after re-tensioning.
Identify Your Door to Choose DIY Repair Parts
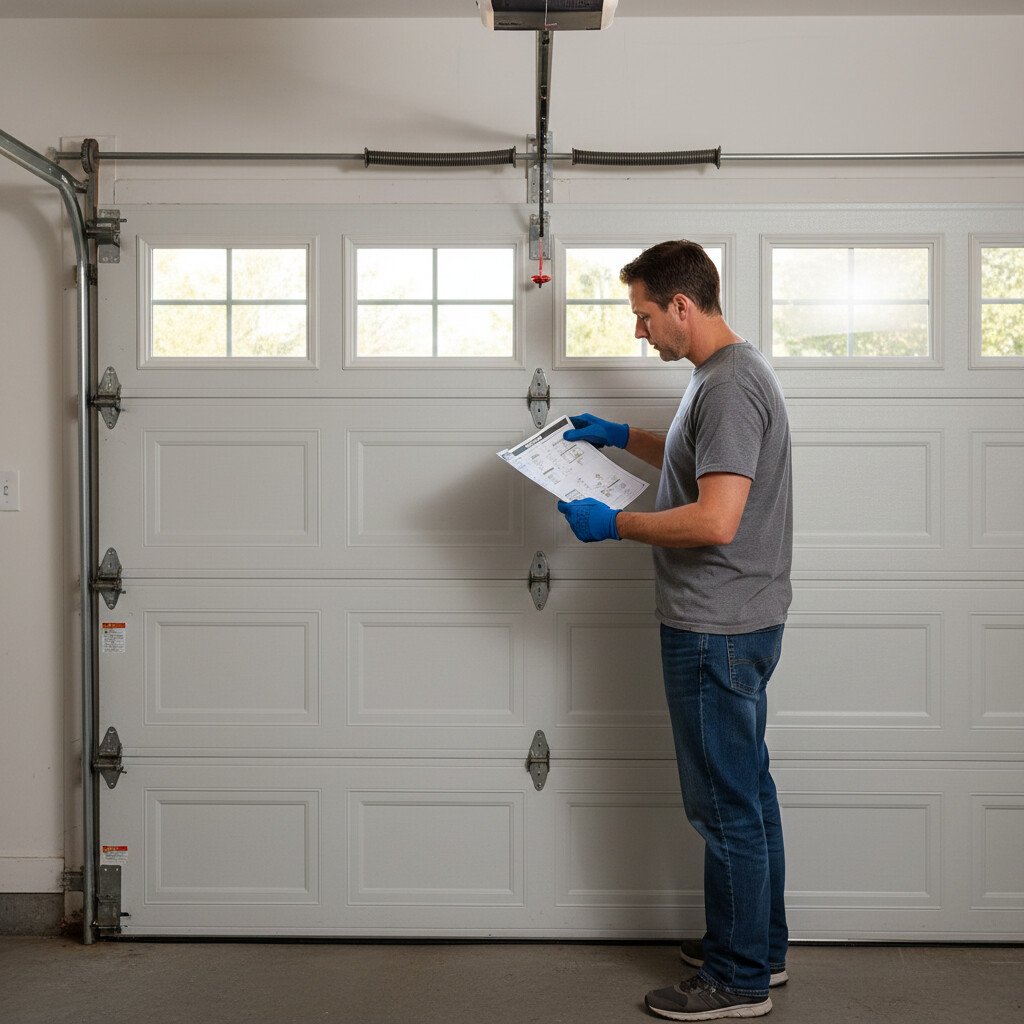
Start by confirming exactly what type of garage door you have, because the door’s construction dictates compatible DIY parts and safe procedures.
Identify door types: sectional, one-piece tilt-up, roll-up, or carriage-style. Record material (steel, aluminum, wood, composite), thickness, insulation rating, and panel profile.
Identify your door: sectional, tilt-up, roll-up, or carriage. Record material, thickness, insulation, and panel profile.
Measure door width, height, and track radius. Inspect track size, roller diameter, hinge gauge, and cable thickness.
Note opener drive type and rail style for repair compatibility with brackets, gears, and sensors. Document hardware brands and model numbers on tags.
Choosing the right parts affects more than performance—it affects cost, because the wrong match can lead to repeat repairs and extra labor. This overview of garage door repair costs and what influences pricing helps you see how door type and part selection change estimates.
Photograph labels and hardware before disassembly. If specifications are missing or mismatched, stop, source exact parts, and verify fitment before proceeding.
If the door remains unstable after part replacement, prompt garage repair helps avoid costly long-term damage.
Garage Door Safety: Springs, Tension, Lockout
Before selecting parts, you’ll identify whether you have torsion or extension springs and note wire size, length, and wind.
If you adjust tension, you’ll use the correct winding bars, mark shaft and drum positions, and proceed in small, controlled increments with PPE.
Before any work, you’ll lockout/tagout the opener, clamp the door to the track, and verify zero stored energy at the springs and cables.
Choosing parts is important, but safety comes first—locking out power, securing the door position, and preventing pinch-point injuries during checks. Use this complete safety protocol for garage door repairs before replacing any rollers, hinges, cables, or opener components.
Identifying Spring Types
Two common garage door spring types—torsion and extension—demand different safety steps, tools, and parts. Identify them before sourcing components.
Look above the door for a shaft with one or more springs: that’s torsion. Look along the horizontal tracks for long, coiled springs with safety cables: that’s extension.
Record measurements precisely: inside diameter, coil length, wire gauge (10-coil or 20-coil method), and wind direction for torsion. Note anchor style and safety cable condition for extension.
Confirm spring materials (oil-tempered vs. galvanized) and match cycle rating to your target spring lifespan. Photograph labels, end cones, and pulleys.
Lockout power and block the door open.
Safe Tension Adjustment
Although tensioning looks straightforward, you must treat garage door springs as stored-energy devices and control every step.
Prioritize tension safety by using hardened winding bars, eye protection, and tight-fitting gloves. Confirm cable seating, drum set-screw bite on the shaft, and center bearing alignment. Apply adjustment techniques in small increments, logging turns and balancing forces.
- Disconnect the opener, clamp the door to the tracks at mid-thigh height, and mark shaft/drum reference lines.
- For torsion springs, add or remove quarter-turns per manufacturer data; for extension systems, adjust cable stretch symmetrically.
- Re-secure set screws to torque, remove clamps, perform balance tests, and recheck hardware.
Lockout/Tagout Basics
Even if you’re working solo in a closed garage, implement lockout/tagout to control all energy sources before touching springs, cables, or the opener. Verify power isolation, secure the door, and document steps. Follow lockout procedures and tagout regulations precisely.
| Step | Action | Verification |
|---|---|---|
| 1 | Unplug opener; lock breaker | Use non-contact tester |
| 2 | Pull emergency release | Door doesn’t move motor |
| 3 | Clamp tracks above rollers | Lift test shows no travel |
| 4 | Lock manual disconnect | Tag with name, date, reason |
| 5 | Try-start (zero-energy test) | No movement, no voltage |
Remove devices only after reassembly, inspection, and clear communication.
Tools and Safety Gear You’ll Actually Use
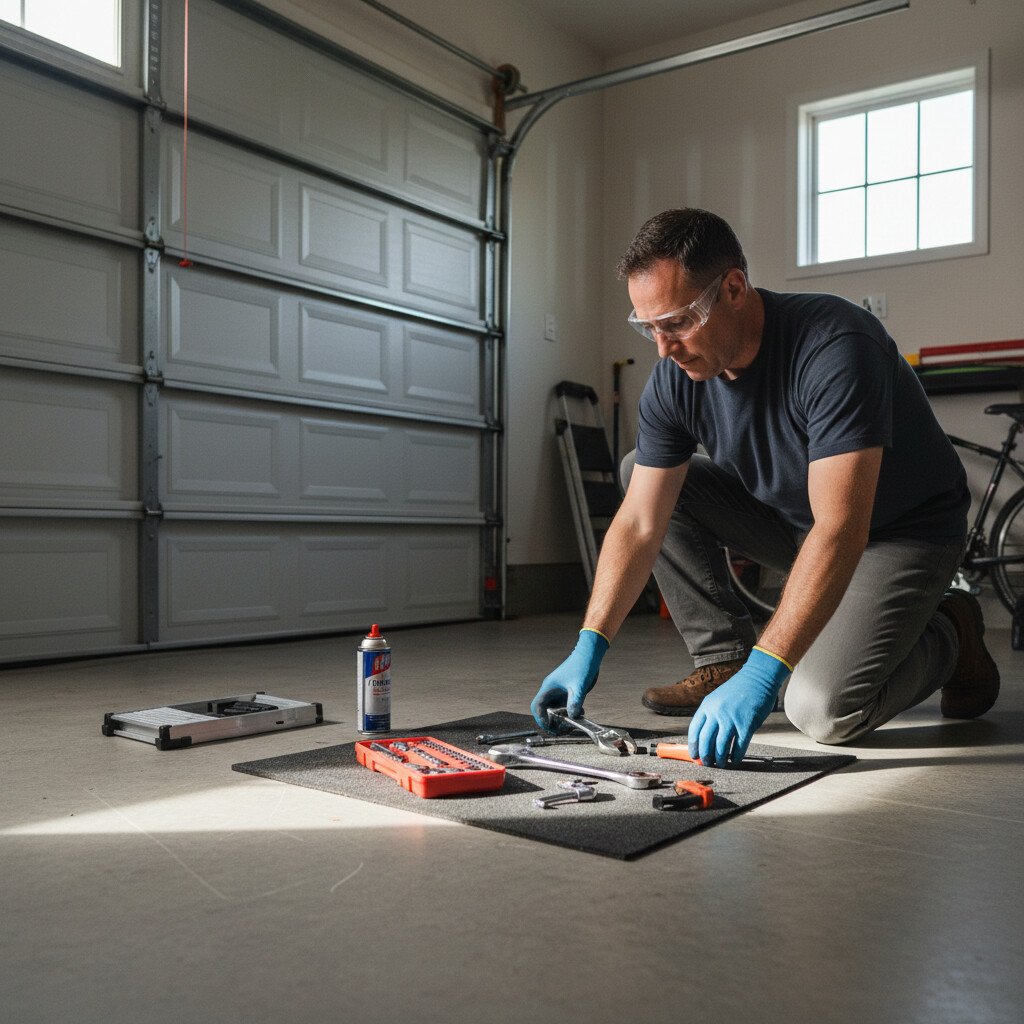
Before you loosen a single fastener, assemble the tools and protective gear that make garage door work safe and efficient.
Prioritize tool selection that matches fastener types and torque needs, and follow safety practices every step. Wear ANSI-rated safety glasses, cut-resistant gloves, and hearing protection. Use a calibrated torque wrench, 6‑point sockets, winding bars (never screwdrivers), and a magnetic pick-up tool.
Keep wedges and C‑clamps for door stabilization.
1) Verify power isolation, test door balance, and block tracks.
2) Inspect tools for damage; replace worn bits, frayed cords.
3) Stage parts, lights, and drop cloths; maintain clear egress and secure footing.
Quick Diagnostics: Symptoms Mapped to Parts
When a garage door misbehaves, link each symptom to its most likely component so you can test, confirm, and replace with confidence.
Begin with symptom analysis:
won’t move—check power, wall control, photo-eyes alignment, then opener logic board.
Stops mid-travel—inspect travel limits, binding tracks, worn rollers.
Loud grinding—examine opener drive gear or trolley.
Uneven motion—inspect cables, drums, and hinges.
Reverses at floor—clean/realign photo-eyes, adjust down force, verify weather seal height.
Opens but won’t close from remote—test remote battery, antenna, lock mode.
Slow travel—check track debris, roller bearings, lubricant.
Apply troubleshooting techniques methodically, lock out power before electrical checks.
Once you’ve mapped the symptom to a part, the next step is checking whether it’s isolated damage or part of a larger wear chain (like rollers wearing because tracks are misaligned). This guide on how to confirm and repair progressive wear across garage door parts helps you avoid replacing one component while the real cause remains.
Springs 101: Types, Sizing, and DIY Replacements
Before you touch the door, lock it down and release opener power; springs store lethal energy.
You’ll identify torsion vs. extension by location and hardware, then record key specs: wire diameter, coil count/length, inside diameter, and spring length.
Use calibrated tools to measure with the door secured, match specifications to door weight and track hardware, and only proceed with rated replacement parts and proper winding bars.
Torsion vs. Extension
Although both systems counterbalance the door’s weight, torsion and extension springs differ in design, behavior, and safety requirements.
Torsion springs mount on a shaft above the door, apply torque smoothly, and typically deliver better balance, durability, and control.
Extension springs stretch along horizontal tracks, cost less, and suit lighter doors but introduce more bounce and side-loading.
Prioritize containment cables on extension sets and secure winding bars for torsion adjustments. De-energize the system before any work.
1) Choose torsion for smoother motion and longevity.
2) Use extension for budget or headroom constraints.
3) Follow manufacturer torque/turn procedures and lockout practices.
Measuring And Sizing Springs
Choosing torsion or extension sets the path for measurements, because each spring type sizes differently.
Disconnect power, clamp the door, and lock the shaft before measuring. For torsion, measure relaxed spring length to the nearest 1/4 inch, spring diameter using calipers across the coil, and wire size by 10–20 coil count divided by length.
Note wind direction and inside diameter stamped on cones when present.
For extension, remove tension, then record relaxed spring length, spring diameter, and hook style.
Weigh the door with cables disconnected to confirm lift requirement. Match springs by door weight, drum size, and cycle rating.
Replace in pairs for balance.
Cables, Drums, and Pulleys: When and How to Replace
When frayed cables, cracked drums, or wobbling pulleys show up, treat them as critical failures and plan a controlled replacement. Isolate power, clamp the door to the tracks, and unload spring tension per the manufacturer’s procedure.
Select cable types rated for your door weight and lift configuration. Match drum sizes to shaft diameter and lift geometry. Verify pulley functions—free rotation, no axial play, correct bore.
1) Remove damaged parts, documenting wrap direction and anchor points.
2) Install new components, applying approved repair techniques and torque specs.
3) Re-tension springs, set equal cable lengths, test balance, then lubricate bearings—not grooves or cable.
Replacing a cable isn’t just about matching length and thickness—it requires securing the door and managing residual tension correctly. This walkthrough on safe DIY garage door cable replacement techniques explains how to prevent misalignment and accidental slippage during installation.
Rollers, Tracks, and Hinges: Parts for Quiet, Smooth Travel
With cables and drums secure, turn to the rolling hardware that guides the door. Disconnect the opener, clamp the door, and wear eye protection.
Identify roller types: steel (durable, noisier), nylon (quieter, sealed bearings), and plastic (temporary). Replace bent or seized rollers with matching stem length and diameter. Support the section, remove hinge bolts, swap rollers, torque fasteners, and verify free rotation.
Perform track maintenance: unplug power, ensure tracks are plumb, level, and parallel; loosen brackets, align, retighten.
Deburr dents, replace creased sections. Confirm 1/2-inch roller-to-track clearance. Inspect hinges for cracks, replace with numbered, like-for-like parts, and lubricate bearings—never the tracks.
Weather Seals and Bottom Retainers: Stop Drafts and Leaks
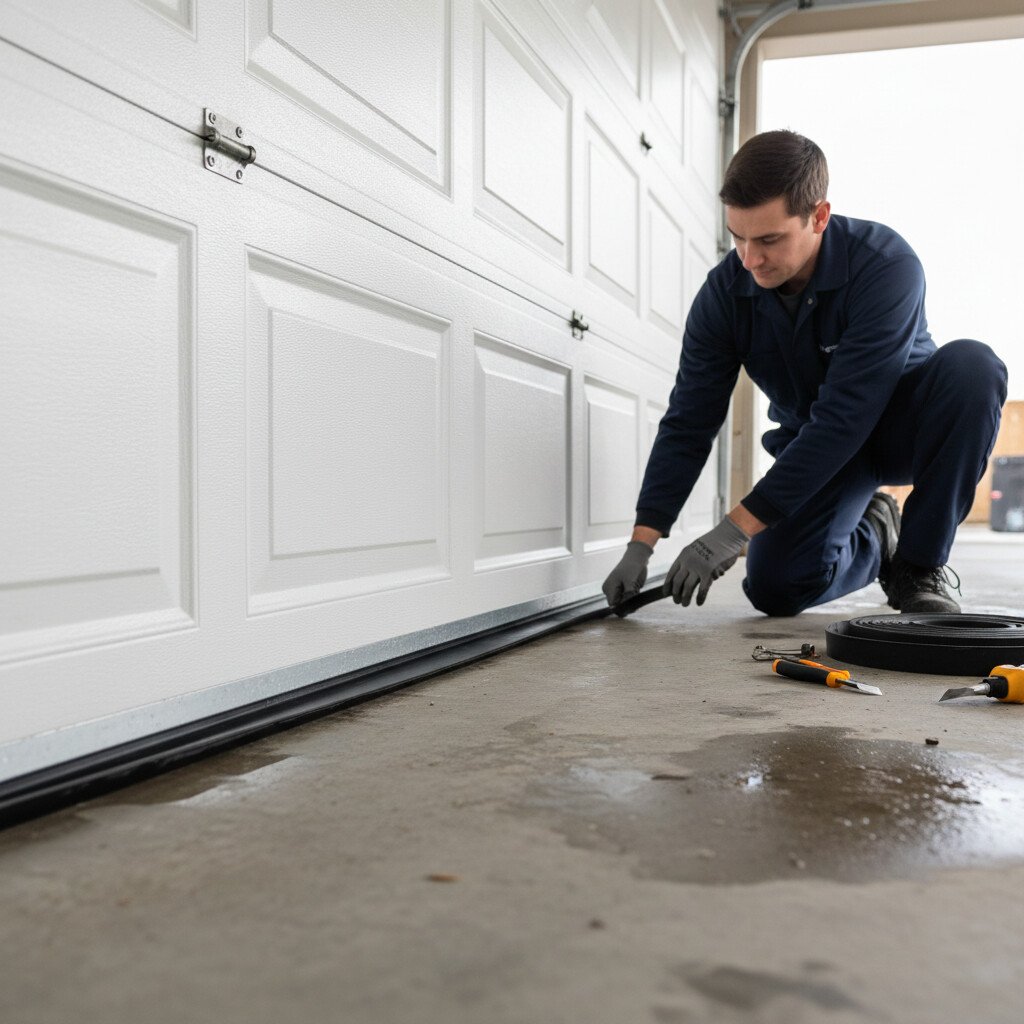
Although the door’s hardware may run smoothly, uncontrolled air and water will defeat efficiency and corrode components, so address perimeter weather seals and the bottom retainer.
Select weather seal types by climate and gap size: vinyl bulb for uneven floors, T‑style for aluminum retainers, brush for debris. Measure door width twice; cut seals square; deburr retainers.
1) De-energize the door, clamp tracks, and prop the door.
2) Remove old fasteners; clean channels with solvent; check retainer straightness; replace if bent.
3) Lubricate channels with silicone; slide in new seal; tension evenly; fasten ends.
Final installation tips: verify daylight, perform leak test.
Openers, Sensors, and Remotes: Compatible DIY Upgrade Parts
Seals set the stage, but the drive system and controls determine daily safety and reliability. Verify opener compatibility first: match voltage, rail type, travel limits, and force profiles to door weight and spring balance.
Choose belt drives for quiet, chain for rugged duty, DC motors for soft-start/stop and battery backup. Confirm Wi‑Fi protocols and rolling-code encryption for remotes.
Perform sensor upgrades next. Align photo-eyes at 4–6 inches, check polarity, and test obstruction reversal using a 2×4 per UL 325.
Program remotes and keypads via learn button, then set unique PINs. Torque-check mounting hardware, secure wiring, label circuits, and document firmware versions.
Conclusion
You’ve got the knowledge to diagnose, source, and replace garage door parts with technical precision. Confirm your door type, lockout power, discharge tension, and use the right PPE before any step. Match symptoms to parts, size springs and cables accurately, and torque hardware to spec. Test balance and safety reversal after every change. With consistent maintenance logs and measured adjustments, your door will run like a calibrated instrument—steady as a metronome, and just as dependable.