Like choosing the right tool for the job, you need to weigh risk, complexity, and cost before touching a garage door. Start by identifying symptoms, then match them to safe DIY tasks versus high‑risk repairs. If torsion springs, cables, or wiring are involved, stop; those are pro territory due to stored energy and code requirements. Consider tools, time, warranty, and insurance implications. A simple misstep can be expensive—or dangerous. Here’s how to make the call with confidence.
Key Takeaways
- Match the task to risk: DIY simple jobs (sensor alignment, track cleaning); hire pros for springs, cables, bent tracks, motors, or structural issues.
- Assess safety red flags: never adjust components under load or replace torsion springs; stop if unsure about balance or load paths.
- Consider total cost and warranty: cheap parts and DIY errors can void warranties; pros provide compliant parts, documentation, and transferable guarantees.
- Evaluate your tools and skills: if you lack winding bars, torque tools, or system knowledge, defer to a technician.
- Weigh time and certainty: quick DIY fixes take under an hour; complex, full‑day repairs with calibrated testing are best left to professionals.
DIY or Pro? Quick Garage Door Repair Decision Guide
For minor issues like keypad resets, track cleaning, photo-eye alignment, or tightening loose hardware, a DIY approach can work just disconnect power and follow manufacturer guidelines carefully.
However, when it comes to torsion springs, cables, bent tracks, or motor problems, quick garage door repair should be left to professionals due to serious safety risks. DIY mistakes can lead to injury, improper calibration, or voided warranties.
If you’re unsure about balance or load-bearing parts, call a certified technician to ensure safe and reliable repairs.
Identify Your Garage Door Problem: Common Symptoms Explained
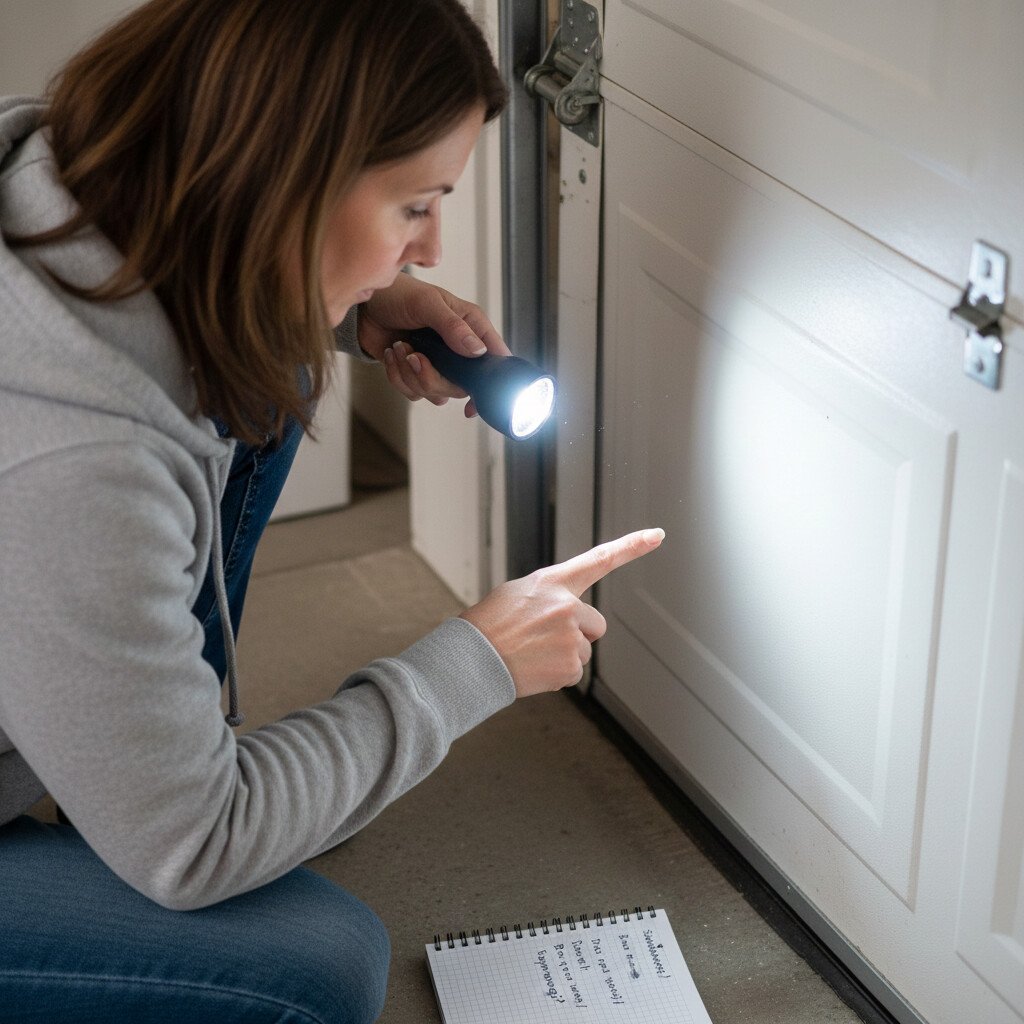
Although many issues sound alike, distinct symptoms point to specific faults you can triage quickly and safely. Observe, test, and document before touching hardware. Listen for changes, watch travel, and note force.
Distinct symptoms guide fast, safe triage—observe, test, document. Listen, watch travel, and note applied force.
- Door stops short or reverses: Check photo eyes for alignment and wiring, then test downforce limits. Rule out obstructions before suspecting spring tension problems.
- Uneven gaps or rubbing tracks: Likely door alignment issues. Inspect track plumb, bent hinges, worn rollers, and loose fasteners.
- Loud bang, door feels heavy: Possible broken spring; don’t lift manually. Verify cables remain seated.
- Opener hums, minimal movement: Evaluate balance, pulley wear, and travel limits.
Opens a little, then stops” is one of those symptoms that can be simple—or a sign you should stop and call a pro depending on what you observe next. This common reasons a garage door opens partway then stops guide shows what to check first and when it’s no longer a safe DIY situation.
Safety Red Flags: Repairs You Should Never DIY
You’ve identified the symptoms—now separate what you can troubleshoot from what you should never touch.
Never DIY torsion spring replacement; stored energy can release violently, causing personal injury.
Don’t adjust lift cables, bottom brackets, or cable drums; they’re under load and present severe safety hazards.
Avoid track realignment when bends or fasteners compromise structural integrity; improper correction can drop the door.
Leave opener logic boards, sensors, and wiring to pros; electrical components require lockout/tagout and diagnostics.
Don’t bypass safety eyes or force limits.
Skip panel or header repairs affecting framing.
If in doubt about load paths or energization, stop and call a technician.
When a repair crosses into high-risk territory (tensioned springs/cables, door off-track, heavy imbalance), the safest move is to stop and follow proper protocols. This DIY garage door repair safety ruleset explains what to secure, what to avoid, and when to call a pro.
Repairs You Can DIY for Garage Doors
You can handle simple hardware tightening, track cleaning, and minor opener adjustments with basic tools and proper precautions.
Use a torque-appropriate driver, keep the door locked out and disconnected from power, and avoid altering counterbalance components.
We’ll cover fastener checks, debris removal, and alignment of tracks, and safe limits and force settings on the opener.
Many noise issues are DIY-friendly if you’re only cleaning tracks, tightening hardware, and lubricating correctly—but you still need a clear process. This guide to DIY methods to stop a noisy, vibrating garage door helps you fix the common causes without guessing.
Simple Hardware Tightening
Loose hardware can cause noise, misalignment, and premature wear, so a quick tightening check is a smart first DIY step.
Use basic tightening techniques with a nut driver and Torx/Phillips bits. Don’t touch torsion spring set screws or lift-cable fasteners—those require pros.
Apply these hardware maintenance tips:
- With the door closed, snug the hinge, bracket, and strut bolts to manufacturer’s torque (typically finger-tight plus a quarter turn).
- Tighten track bracket fasteners to framing; avoid bending components.
- Secure opener header bracket and trolley arm bolts; verify cotter pins.
- Recheck roller hinge screws; replace stripped fasteners and use threadlocker where specified.
Track Cleaning Basics
After tightening hardware to stop rattles and keep components aligned, keep the door running smoothly by cleaning the vertical and horizontal tracks.
Disconnect power, clamp the door open, and wear eye protection.
Use these track maintenance tips: vacuum debris, then wipe steel tracks with a lint-free cloth dampened with mild degreaser. Avoid harsh solvents on coated parts.
Inspect for dents, fastener heads protruding into the track, and hardened grease. Don’t lubricate tracks; lubrication attracts grit.
Apply a dry silicone to the metal rollers’ bearings only, not treads.
Essential cleaning tools: shop vacuum, nylon brush, microfiber cloth, mild degreaser, straightedge, flashlight, and rags.
Minor Opener Adjustments
A few careful tweaks can restore a sluggish or finicky opener without a service call, provided you work methodically and stay within safe limits. Unplug the unit first.
For common opener issues, you can make minor adjustments that align force, travel, and sensors while avoiding spring or cable work.
- Adjust travel limits so the door fully closes without pressing the floor or reopening; test with the release engaged.
- Lower the closing force until the door reverses when resisted by a 2×4.
- Realign photo-eyes: level, clean lenses, and ensure solid LED indicators.
- Tighten chain/belt to manufacturer spec; don’t over-tension.
Reconnect power and test.
Repairs to Leave to a Pro Technician
When the repair involves high-tension components, specialized calibration, or electrical integration, you should call a certified garage door technician.
Torsion spring replacement, cable re-stringing, drum or shaft service, and bearing plate repair require torque winding tools, lockout procedures, and load calculations.
Track realignment after impact, panel replacement affecting balance, and opener logic-board or photo-eye wiring diagnostics also demand pro instrumentation.
If you’re unsure, perform a quick cost assessment against your experience level and tool access.
Warning signs include frayed cables, uneven lift, burnt electronics, grinding from the header, or a door that free-falls.
Disconnect power, stop operating, and schedule a pro inspection.
Cable issues can escalate quickly if tension is uneven or drums aren’t aligned properly. Before deciding to handle it yourself, review this guide covering essential safety steps for repairing garage door cables without professional help, so you understand the risks involved.
Real Costs: DIY vs Professional Garage Door Repair
Numbers matter more than instincts here: compare total lifecycle cost, not just the price of parts. Use DIY Cost Analysis and a Professional Pricing Comparison to evaluate total outlay, including risk.
Factor in parts quality, required tools, and safety controls. A mis‑tensioned spring or misaligned track can create injury costs and damage doors, openers, or vehicles.
- Parts: Verify gauge, cycle rating, and warranty; cheap springs wear faster, raising replacement frequency.
- Tools: Torsion bars, winding cones, torque wrench—buying vs renting adds up.
- Safety: Medical bills and property damage dwarf savings.
- Warranty: Pro labor/material warranties reduce repeat-fix expenses.
DIY vs pro cost comparisons only make sense when you know which component is actually failing—rollers and sensors aren’t priced like springs, cables, or tracks. This guide to garage door repair costs broken down by issue helps you estimate the likely spend before deciding whether DIY is worth it.
Time Needed: Fast Fixes vs All‑Day Jobs
You’ll find some issues are quick troubleshooting tasks—sensor alignment, track cleaning, or minor opener settings—that you can resolve in under an hour with proper lockout/tagout.
Moderate time commitments include roller swaps, cable re-terminations, or hinge replacements that demand correct torque, alignment checks, and testing of safety reversals.
Full-day professional repairs cover torsion spring replacement, door resectioning, or opener rewiring, where specialized tools, load calculations, and safety protocols prevent severe injury and system damage.
Quick Troubleshooting Tasks
A few quick checks can separate fast fixes from all‑day jobs and keep you safe. Focus on tasks that don’t expose you to high force or energized parts. If anything suggests damaged springs, cables, or tracks, stop and call a pro.
- Inspect and clean garage door sensors: align lenses to face each other, wipe dust, ensure LED indicators are steady, and remove obstructions.
- Test photo-eye wiring and brackets: confirm tight connections and secure mounting; avoid bending housings.
- Check hardware: snug hinge and track fasteners; don’t alter spring tension.
- Lubricate rollers, hinges, and the opener rail with garage‑rated lube; avoid greasy residues near sensors.
Moderate Time Commitments
After quick checks, some repairs sit in the middle: they’re safe for informed homeowners but require tools, methodical steps, and an hour or more. You might realign photo eyes, replace a weather seal, adjust track brackets, swap hinge plates, or program openers.
Use lockout/tagout: disconnect power and engage the door’s manual release with the door fully down. Wear eye protection and gloves.
Estimate durations and sequence tasks for sound time management and project planning. Lay out parts, label fasteners, and verify torque specs.
Test balance and safety reversal after adjustments. If steps exceed your comfort, pause, document findings, and schedule a qualified technician.
Full‑Day Professional Repairs
When the job involves structural components, high-tension systems, or complex diagnostics, plan for a licensed technician and potentially a full day on site.
Full day service typically covers torsion system overhauls, track realignment with framing repair, opener recalibration after board replacement, and safety testing.
You’ll benefit from calibrated tools, manufacturer procedures, and load/force verification that DIY can’t match. Expect a defined repair duration, clear scope, and compliance checks.
- Springs/cables: de-tension, replace, balance, verify cycle counts.
- Tracks/frames: plumb, level, anchor, shim, torque fasteners.
- Opener/electrical: board swap, reprogramming, force/limit tuning.
- Safety: UL 325 checks, photo-eye alignment, door balance tests.
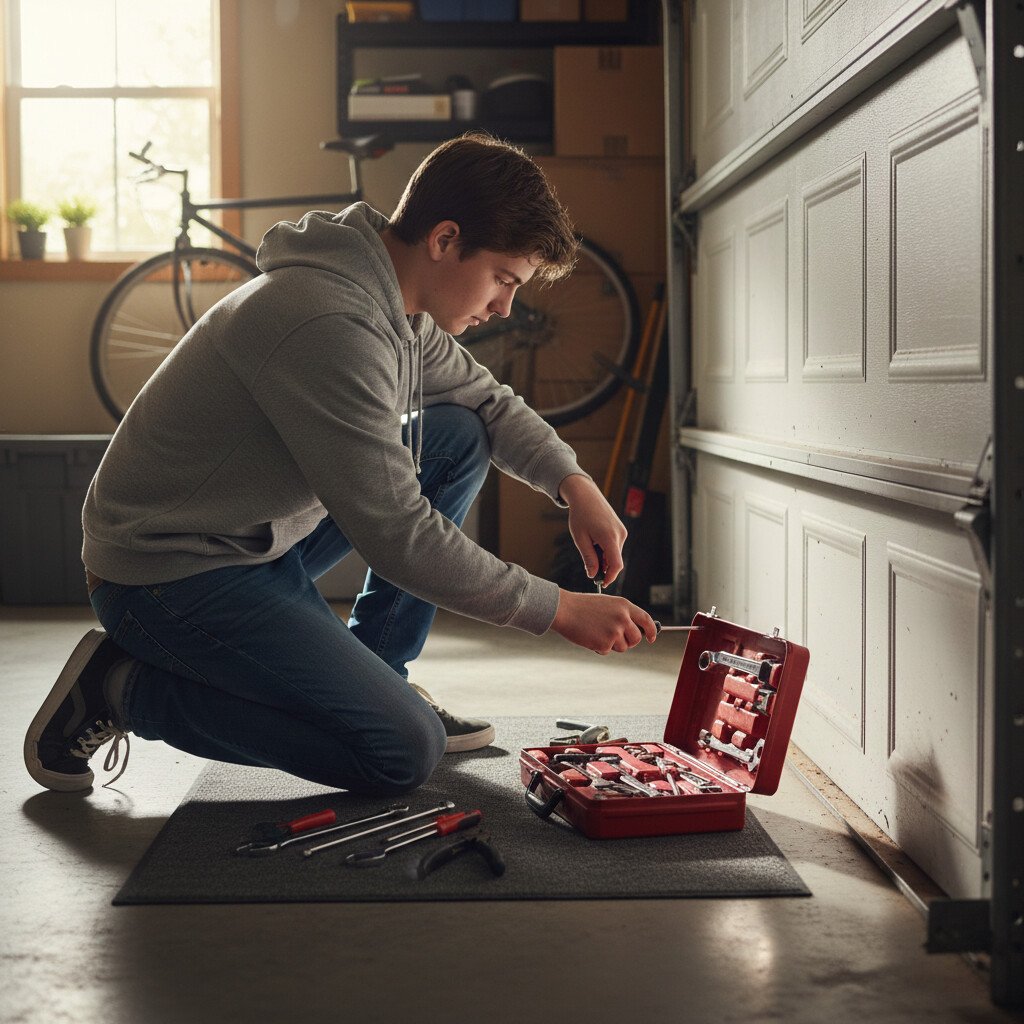
Tools and Skills: Do You Have What You Need?
Before you pick up a wrench, assess your toolkit and competency with garage door systems.
Start with a realistic skill assessment: can you safely de-energize openers, lock tracks, and handle torsion tension?
Start with a realistic skill check: can you de‑energize openers, lock tracks, handle torsion tension?
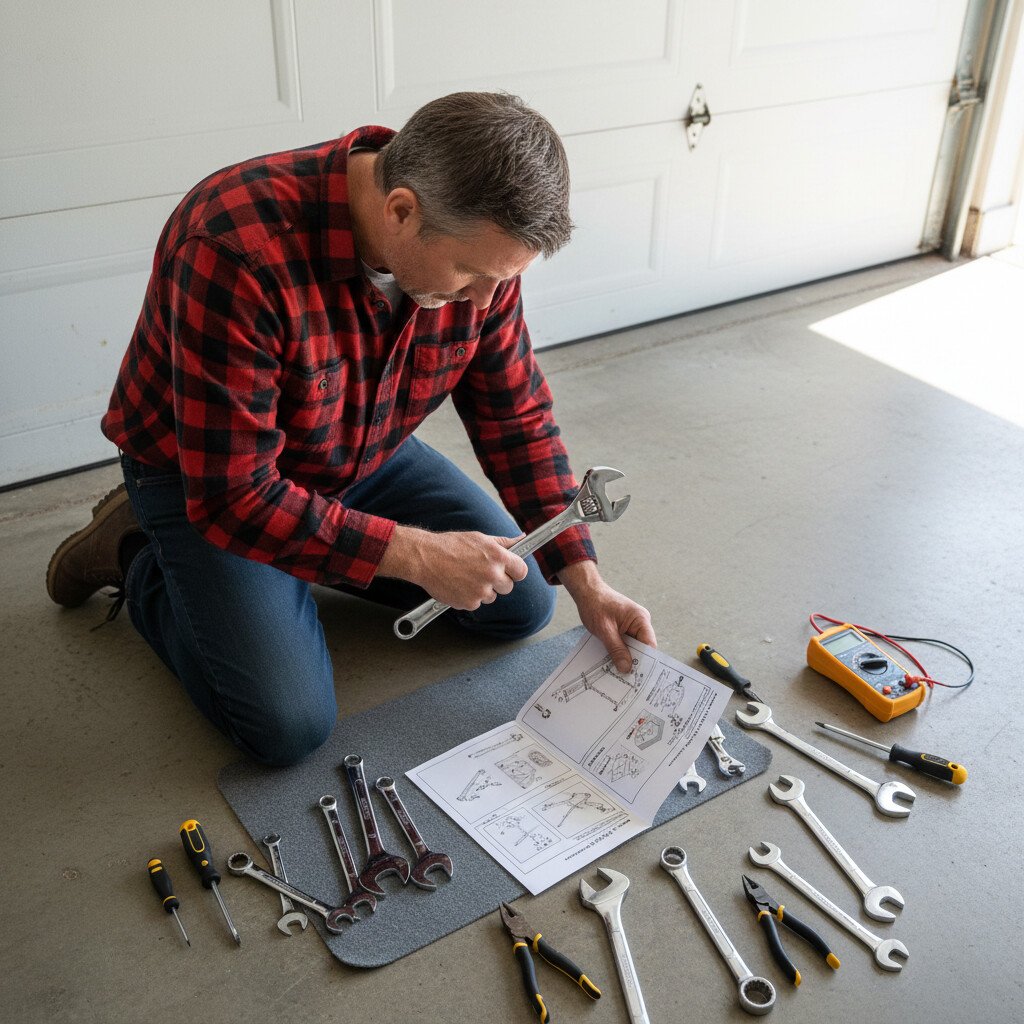
Confirm you own the correct tool types: winding bars (never screwdrivers), calibrated torque wrench, C‑clamps, vice grips, level, impact driver with nut‑setters, cable sleeves, winding cones, and safety glasses.
Verify you can identify spring handedness, set shaft centerline, balance panels, and align photo eyes to spec.
If you lack manufacturer manuals, specialty parts, or experience anchoring lift cables and setting travel limits, defer to a pro to mitigate injury and property damage.
If you don’t have the right tools, the risk isn’t just a slower repair—it’s losing control of the door or damaging additional parts. Use this guide on DIY garage door repair risks and safety red flags to decide if the job should be handed to a technician.
Warranties, Insurance, and Home Resale Considerations
Before you pick DIY or a pro, verify how warranty coverage differs—manufacturer parts warranties often exclude self-installed or improperly adjusted components, while licensed work can preserve both parts and labor protection.
Confirm your insurance exposure: a mishap during DIY can fall under your liability, whereas insured contractors carry general liability and workers’ comp.
Consider resale: documented professional repairs with permits and transferable warranties can support inspection outcomes and appraised value.
Warranty Coverage Differences
Although DIY repairs can feel cost‑effective upfront, warranty and insurance implications often tilt the balance toward professional service.
Manufacturers often include warranty limitations that void coverage if you install non‑approved parts, bypass safety devices, or skip torque and balance checks. Certified technicians document procedures, maintain compliance, and provide repair guarantees that transfer to the next homeowner, supporting resale value.
- Verify whether labor is covered; DIY usually isn’t, pros often are.
- Confirm parts lists; substitutes can trigger warranty limitations.
- Require written repair guarantees with term, scope, and exclusions.
- Ensure service records show code compliance and manufacturer‑approved methods.
Insurance Liability Implications
Warranty rules set the groundwork, but insurance liability often decides who pays when something goes wrong. If you DIY a repair and cause injury or property damage, your liability coverage may exclude losses due to improper work. Professionals carry general liability and workers’ comp, shifting risk away from you and streamlining insurance claims. Always document parts, invoices, and before/after photos. Confirm your policy’s exclusions, sub-limits, and notification timelines.
| Scenario | Your Policy Risk | Pro’s Policy Role |
|---|---|---|
| DIY injury | High exposure | None |
| DIY property damage | Possible denial | None |
| Pro-caused damage | Lower exposure | Contractor liable |
| Pro worker injury | Minimal exposure | Workers’ comp applies |
Impact on Resale Value
Even if you don’t plan to sell soon, buyers and inspectors scrutinize garage doors because they affect curb appeal, safety, and operating costs.
Your repair approach influences resale impact and overall home value. Lenders and insurers also assess risk.
Professional work typically includes documented warranties, code-compliant parts, and traceable permits, which reduce buyer objections and speed underwriting.
DIY fixes can lack proof of compliance or void manufacturer coverage, inviting price concessions.
- Request transferable part-and-labor warranties; provide receipts.
- Verify UL 325 compliance and safety-reverse testing.
- Document permits and inspections in your disclosure packet.
- Confirm homeowner’s policy recognizes professional repairs.
Final Checklist: When to DIY and When to Call a Pro
Three quick checks help you decide fast: scope, risk, and tools. For minor tasks—lubrication, photo-eye alignment, tightening hardware—DIY considerations favor you if you have PPE, a sturdy ladder, and the manual.
Stop if you see frayed cables, a cracked panel, misaligned tracks, opener board faults, or torsion spring issues—high stored energy equals severe injury risk.
Calculate total load: door weight, spring type, cycle rating, and balance test. If the door won’t stay mid-travel, call a pro.
Calculate total load: weight, spring type, cycle rating, and balance. Won’t stay mid-travel? Call a pro.
Professional benefits include calibrated torsion bars, correct lift ratios, UL 325 compliance, warranty-backed parts, and safe disposal. Document work for insurance.
Conclusion
You’re now equipped to decide smartly between DIY and pro garage door repair. Prioritize safety and cost-of-error: torsion spring failures cause an estimated 2,000 ER visits annually in the U.S., underscoring why high-tension or electrical work isn’t DIY territory. If the task is low-risk, time-bounded, and within your tools/skills, proceed; otherwise, call a certified tech to protect warranties, insurance, and resale value. Use the checklist, document model numbers, and verify compliance with ANSI/DASMA safety standards.