Is it true your garage door can materially affect whole-home energy use? You’ll see how proper installation limits thermal bridging, meets air-sealing codes, and protects conditioned spaces. You’ll compare R-values that matter, choose insulation that resists compression, and specify continuous weatherstripping to control infiltration. You’ll verify balance, track alignment tolerances, and set opener limits to reduce gaps safely. You’ll also adopt inspection intervals and maintenance steps that preserve performance—yet one overlooked detail still undermines efficiency…
Key Takeaways
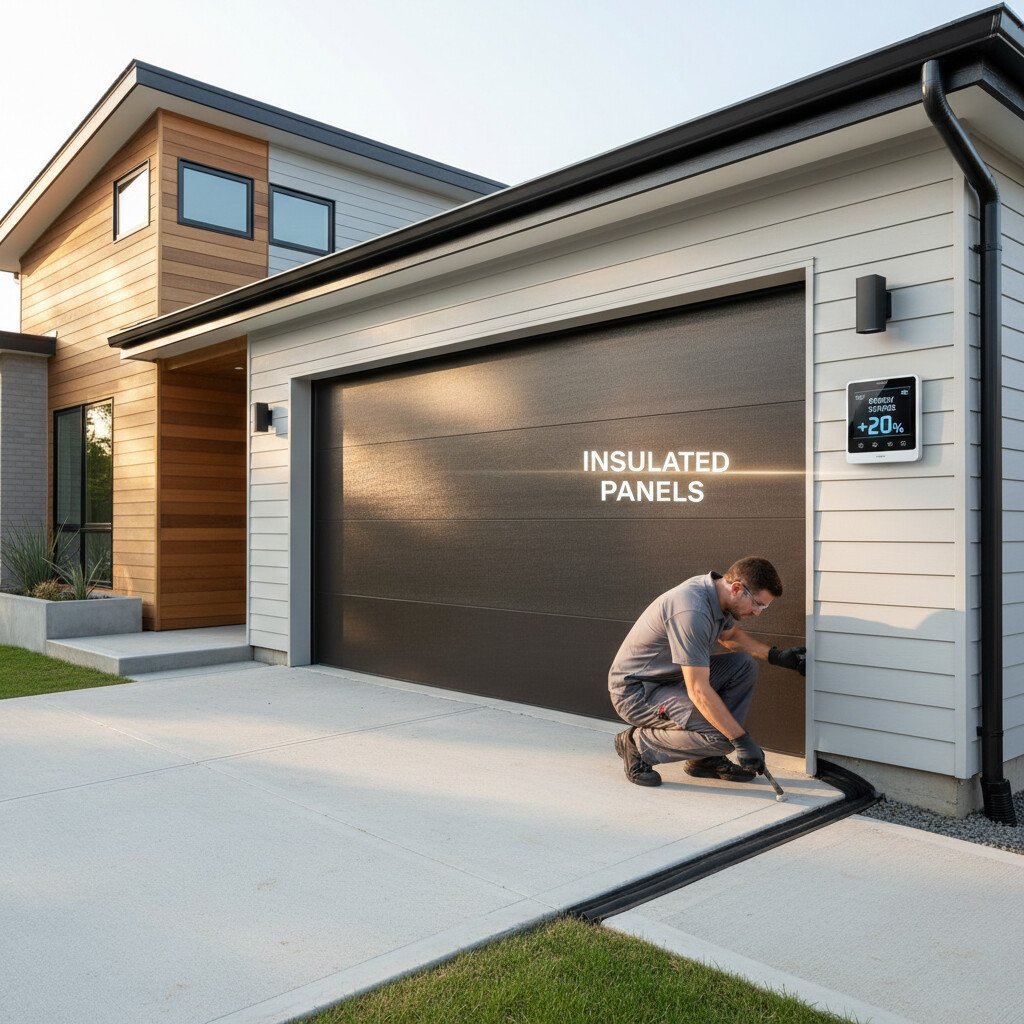
- Choose insulated, thermally broken door panels with verified whole-door R-value/U-factor matched to your climate zone.
- Ensure professional installation with continuous perimeter weatherstripping and a double-fin bottom seal tested for airtightness.
- Minimize thermal bridging by isolating metal hardware, using insulated fasteners, and specifying thermally broken components.
- Align and balance the door correctly; set opener travel limits for uniform seal compression and use efficient brushless DC smart openers.
- Maintain seals, alignment, and balance regularly; replace worn gaskets and verify safety and performance per manufacturer and code.
How Garage Doors Influence Home Energy Use
Garage doors affect whole-home energy by controlling heat flow and air leakage. Choose doors with high R-value, verified U-factor, and tight perimeter seals. Use insulated, thermally broken panels with continuous bottom, jamb, and header seals. Follow the code for garage-to-house air sealing, maintain self-closing doors, and ensure proper balance. Set threshold height to prevent water intrusion and seal degradation.
To see why installation quality matters so much, it helps to understand how garage door installation works and where energy loss typically occurs.
The Role of Professional Installation in Thermal Performance
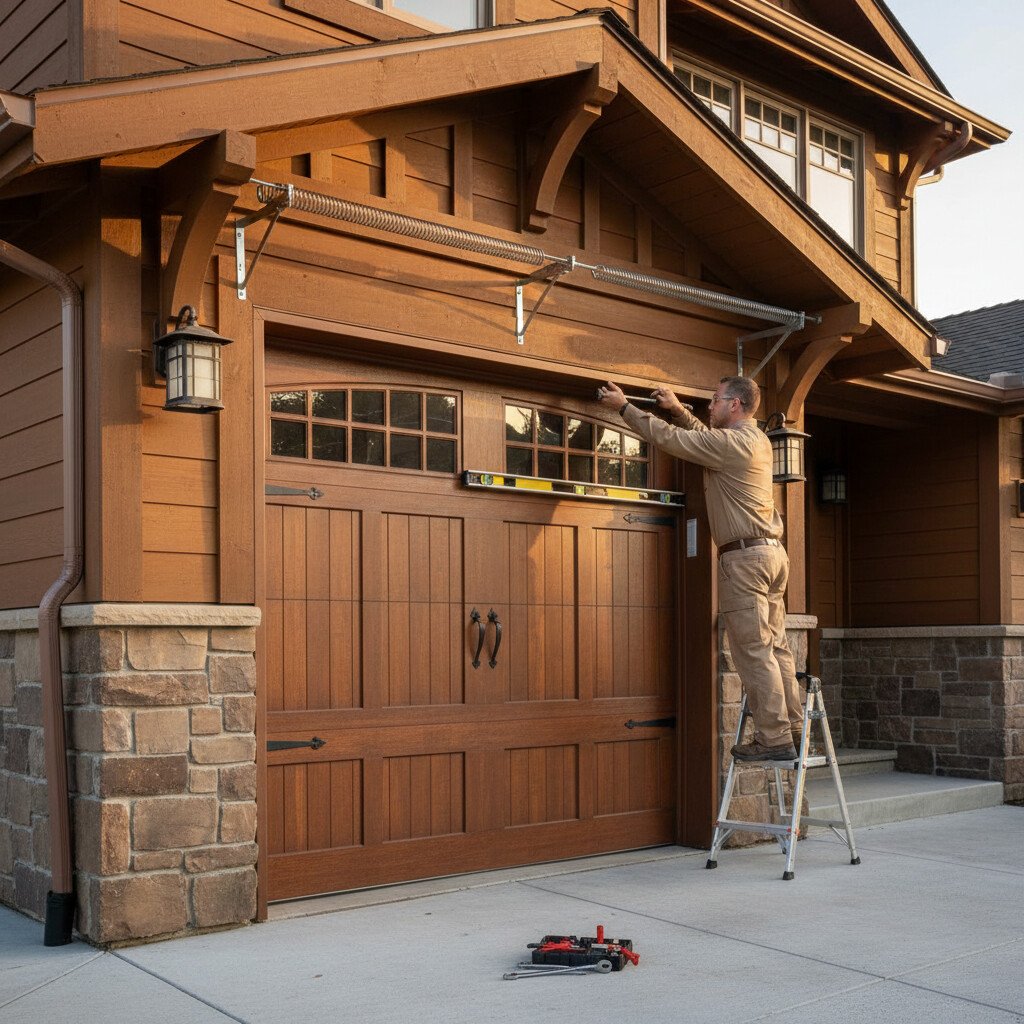
You rely on professional installation to achieve precise sealing and alignment at the head, jambs, and threshold, preventing air leakage that would violate energy code targets.
A trained installer minimises thermal bridging by selecting compliant hardware, isolating metal components, and maintaining continuous thermal breaks across panels and framing.
They also ensure optimal insulation continuity by fitting sections, weatherstripping, and jamb seals without gaps, so the door assembly meets specified U-factor and air infiltration ratings.
Improper handling during setup can create gaps and misalignment, which is why following garage door installation safety tips also supports long-term energy efficiency.
Precise Sealing and Alignment
Thermal performance depends on accurate sealing and alignment. Verify track plumb, level, and backset, and adjust spring tension so panels are square and gaskets compress evenly. Use durable, insulated materials and ensure air sealing at the header, jambs, and sill. Install continuous weatherstripping, a low-temperature bottom seal, and cap-fastened retainer to prevent gaps. Confirm opener force limits and safety reversal after alignment.
| Checkpoint | Code/Spec Action |
|---|---|
| Track alignment | Level within manufacturer tolerance |
| Panel squareness | Measure diagonals; adjust hinges |
| Perimeter seals | Continuous contact, no light infiltration |
| Bottom seal | Uniform compression on threshold |
| Final test | Infrared scan; smoke-pencil verification |
Document results for compliance.
Minimizing Thermal Bridging
Although R‑values grab attention, thermal performance hinges on minimizing thermal bridges that bypass insulation through metal tracks, fasteners, framing, and hardware.
You reduce conductive paths by specifying thermally broken components, isolating metal-to-structure contacts, and verifying code-required clearances.
Professional installers select hardware with integrated thermal breaks, use nonconductive shims, and avoid creating unintended steel-to-steel shortcuts that spike heat loss and condensation risk.
- Specify thermally broken track brackets and end bearing plates; isolate with polymer bushings where the code allows.
- Use insulated, low-conductivity fasteners and properly sized washers; avoid over‑driving that defeats thermal breaks or compromises structural capacity.
- Conduct post-install energy audits with infrared imaging to confirm uniform surface temperatures and identify corrective actions.
You’ll meet safety, fire, and structural requirements while maximizing seasonal efficiency.
Optimal Insulation Continuity
Minimise thermal bridges to maintain continuous insulation across the door, jambs, header, and floor. Choose insulation compatible with wall R-values.
Seal panel joints, track penetrations, and fasteners with approved gaskets or low-expansion foam. Install jamb, header, and threshold seals, and set door-to-floor compression without binding.
Isolate metal components, maintain air barriers, and meet U-factor targets. Verify with smoke-pencil tests, infrared scans, and torque checks for safe operation and thermal continuity.
Insulation Types and R-Values That Actually Matter
Two garage-door insulation systems dominate residential installs: polystyrene panels and polyurethane foam. You’ll choose between rigid polystyrene sheets inserted into the door’s cavities and factory-injected polyurethane that bonds to the steel skin.
Evaluate insulation materials by tested R-values per panel, not marketing. Polyurethane typically delivers higher energy ratings (about R-6 to R-9 per 1.75–2 inches) and better structural rigidity; polystyrene averages lower (about R-3 to R-5 at similar thickness).
- Verify third-party R-value certification (ASTM C518) and that values reflect the whole door, not center-of-panel only.
- Match climate-zone targets in the energy code; in cold zones, prioritize higher R and reduced thermal bridging through stiles/rails.
- Specify fire/smoke compliance (UL 723/ASTM E84) and ensure adhesives/foams don’t compromise spring counterbalance or opener safety sensors.
Selecting insulation that performs well in your climate starts with choosing the right garage door installation materials.
Seals, Weatherstripping, and Air Leakage Control
You’ll select durable bottom, jamb, and header seals rated for UV, ozone, and temperature extremes, ensuring materials are compatible with the door substrate and local energy code targets for infiltration.
You’ll install compressible bulb or T-style bottom seals and kerf-mounted or screw-on weatherstrips with uniform contact, continuous runs, sealed joints, and correct reveal to prevent binding.
You’ll verify air leakage control with a feel test or blower-door data where applicable, adjust track/hinge alignment, and replace damaged seals to maintain safe, code-compliant performance.
Choosing Durable Seals
Although the door slab and track get most of the attention, durable perimeter and bottom seals are what actually control air leakage, water intrusion, and pests—and they must be selected to match the door type, climate, and code requirements.
You should choose seal materials with verified compression set, UV resistance, and temperature range. EPDM and silicone outperform vinyl in cold climates; brush seals suit uneven floors. Confirm compatibility with fire-rated assemblies and wind-load requirements.
- Evaluate threshold height, door curvature, and track clearance to prevent binding and meet egress clearances.
- Specify aluminum retainers with corrosion protection and replaceable inserts for long-term serviceability.
- Select profiles that maintain a continuous air barrier at design pressures.
Follow manufacturer installation techniques, torque specs, and fastener schedules to prevent gaps, trip hazards, and pinch points.
Installing Effective Weatherstrips
Before tightening the first fastener, verify the door is plumb, tracks are true, and the slab closes evenly so the weatherstrips can compress uniformly without binding.
Select weatherstrip materials rated for exterior exposure, UV, and temperature swings; EPDM and silicone outperform vinyl in cold climates. Measure head, jamb, and sill gaps with feeler gauges. Cut seals square, pre-drill pilot holes, and fasten through slotted flanges to allow adjustment.
Apply backer rod and low-expansion sealant behind jamb stops where required by energy code. Use manufacturer-specified installation techniques: start at the header center, work outward, then down the jambs, maintaining even contact pressure—light touch at mid-span, slightly tighter at corners.
Install a double-fin bottom seal in the retainer. Confirm continuous contact, then test with a smoke pencil.
Balancing, Alignment, and Hardware That Improve Efficiency
Properly balanced doors with aligned tracks and efficient hardware reduce opener load, energy use, and wear.
Verify balance by disconnecting the opener and checking mid-travel hold; adjust torsion springs with proper tools or a licensed tech. Ensure plumb tracks, equal jamb spacing, and parallel horizontals to prevent racking.
Use durable components—low-friction rollers, sealed bearings, high-cycle springs—and torque fasteners to specs. Shim tracks to prevent binding, replace worn parts, and lubricate springs, rollers, and pulleys. Always lock out/tag out before service.
Efficient operation depends on properly matched hardware, so selecting the right garage door installation components helps prevent uneven movement and air leaks.
Smart Openers and Controls for Reduced Energy Loss
Balanced doors reduce load; smart openers cut standby power, improve sealing, and optimise cycles. Use high-efficiency brushless DC motors with soft-start/stop and UL 325/CSA compliance. Choose smart features: low-power Wi‑Fi, adaptive torque, auto-close timers, and obstruction sensing.
Set travel limits for uniform bottom-seal compression and verify full contact with magnetic or optical sensors. Use geofencing or schedules to reduce open time. Battery backup should run essential functions only. Document watt draw, cycle time, and seal pressure after commissioning.
Modern efficiency improvements are amplified when you pair the system with the right garage door opener, especially models with smart scheduling and auto-close features.
Maintenance Practices That Preserve Efficiency Over Time
Although the opener and door start efficiently, you must keep them that way through scheduled, code‑compliant service. Conduct regular inspections aligned with manufacturer manuals and local codes.
Keep your opener and door efficient with scheduled, code‑compliant inspections per manuals and local codes.
Verify weatherstripping compression, track plumb and level, spring balance, and photo‑eye alignment at 6 inches above grade. Tighten hardware to torque specs, test auto‑reverse per UL 325, and confirm R‑value continuity at joints and perimeter seals.
- Check seal integrity: replace cracked bottom seals and side jamb gaskets to prevent conductive and infiltration losses.
- Perform routine lubrication: apply a light, non‑detergent garage‑door lubricant to rollers, hinges, bearings, and torsion springs; never grease tracks.
- Validate controls: update firmware, calibrate travel limits, and enable vacation‑lock to reduce standby loss.
Document findings, correct deficiencies promptly, and defer torsion‑spring adjustments to qualified technicians for safety.
Conclusion
You’re the conductor of your home’s thermal orchestra—tune the garage door, and the whole house sings in harmony. Specify high R-values, tight weatherstripping, and code-compliant air sealing to block drafts like a dam stops a river. Demand professional installation, precise alignment, and balanced hardware to prevent energy leaks. Pair smart openers with insulated panels, then schedule inspections like clockwork. Do this, and your garage becomes a thermal airlock—safe, efficient, and engineered to keep comfort in and waste out.