You can spot a failing garage door by sound, speed, and balance before it becomes a hazard. Grinding, squealing, or banging signals mechanical distress. Slow or jerky travel points to friction or misalignment. If the door won’t open or reverse, suspect sensor faults or spring imbalance. Sagging panels, off-track rollers, frayed cables, rusted springs, and loose hardware demand fast action. Even the opener and remote offer clues. Here’s how to triage safely—and what to fix first.
Key Takeaways
- Loud grinding, squealing, or banging noises indicate mechanical distress that needs prompt inspection and lubrication or professional service.
- Door drops quickly, won’t hold mid-travel, or feels heavy manually—signs of spring or balance failure requiring immediate professional attention.
- Door reverses unexpectedly, won’t open, or stalls—check photo-eyes and alignment; persistent issues warrant urgent repair.
- Sagging panels, off-track rollers, or bent tracks show structural stress that risks collapse and needs immediate technician intervention.
- Frayed cables, cracked hinges, flat-spotted rollers, or loose fasteners signal imminent component failure and should be addressed promptly.
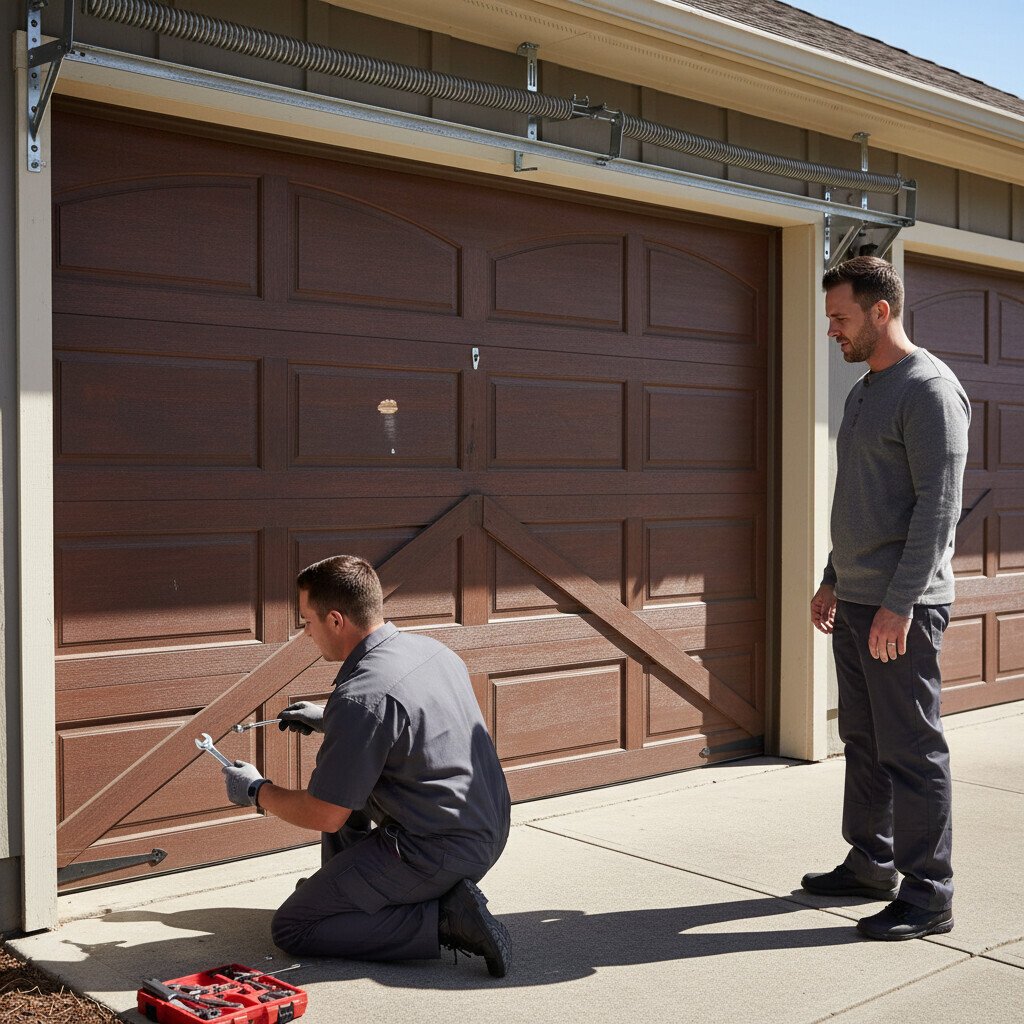
Safety First: Garage Door Repair Triage
Before you touch the door, perform a quick triage: disconnect power to the opener, keep people and pets clear, and visually assess the system without forcing anything.
Verify the door is fully down; if stuck mid-travel, block it with rated stands. Inspect cables, springs, rollers, and tracks for fraying, deformation, or gaps.
Verify the door is down; if stuck, support it. Inspect cables, springs, rollers, and tracks.
Don’t pull the emergency release if a spring appears broken. Test photo-eyes for alignment and clean lenses.
Check fasteners at hinges and brackets; tighten only accessible hardware. If you detect imbalance, binding, or damaged lift components, stop.
Apply safety precautions and follow emergency procedures: isolate the area and call a qualified technician.
Loud Noises: Grinding, Squealing, or Banging
Grinding, squealing, or banging from a garage door signals mechanical distress that warrants immediate attention and controlled testing only.
Treat abnormal acoustics as indicators of component wear, misalignment, or fastener looseness. Isolate the source: hinges, rollers, tracks, torsion springs, or opener drive.
Don’t place hands near springs or cables. Disconnect power, then perform visual checks for bent track, flat-spotted rollers, metal shavings, or cracked hinges.
Tighten accessible fasteners to spec and apply appropriate lubricant to rollers, hinges, and springs for noise reduction.
If impacts persist, suspend operation. Schedule professional garage door maintenance to inspect balance, spring torque, and drive components safely.
Grinding and banging usually means something is wearing out—rollers flatten, hinges loosen, tracks bind, or cables start to fray. Use this breakdown of how to inspect garage door components for wear and tear to identify the real culprit and prevent a small issue from turning into a breakdown.
Slow or Jerky Garage Door Movement
If the door’s noise draws attention, its motion confirms the problem: slow starts, uneven travel, or sudden lurches indicate friction, misalignment, or failing drive components.
You’re seeing excessive resistance somewhere in the lifting path. Inspect rollers, hinges, and bearings; dried components need proper garage door lubrication, not general-purpose oils.
Verify track alignment with a level; gaps or pinches create binding and jerks. Check the chain or belt for tension and wear. Don’t ignore spring fatigue or bent sections.
- Confirm track alignment and fastener torque.
- Lubricate rollers, hinges, and springs with silicone or lithium.
- Test balance; disconnect the opener and lift manually.
Door Won’t Open or Reverses Unexpectedly
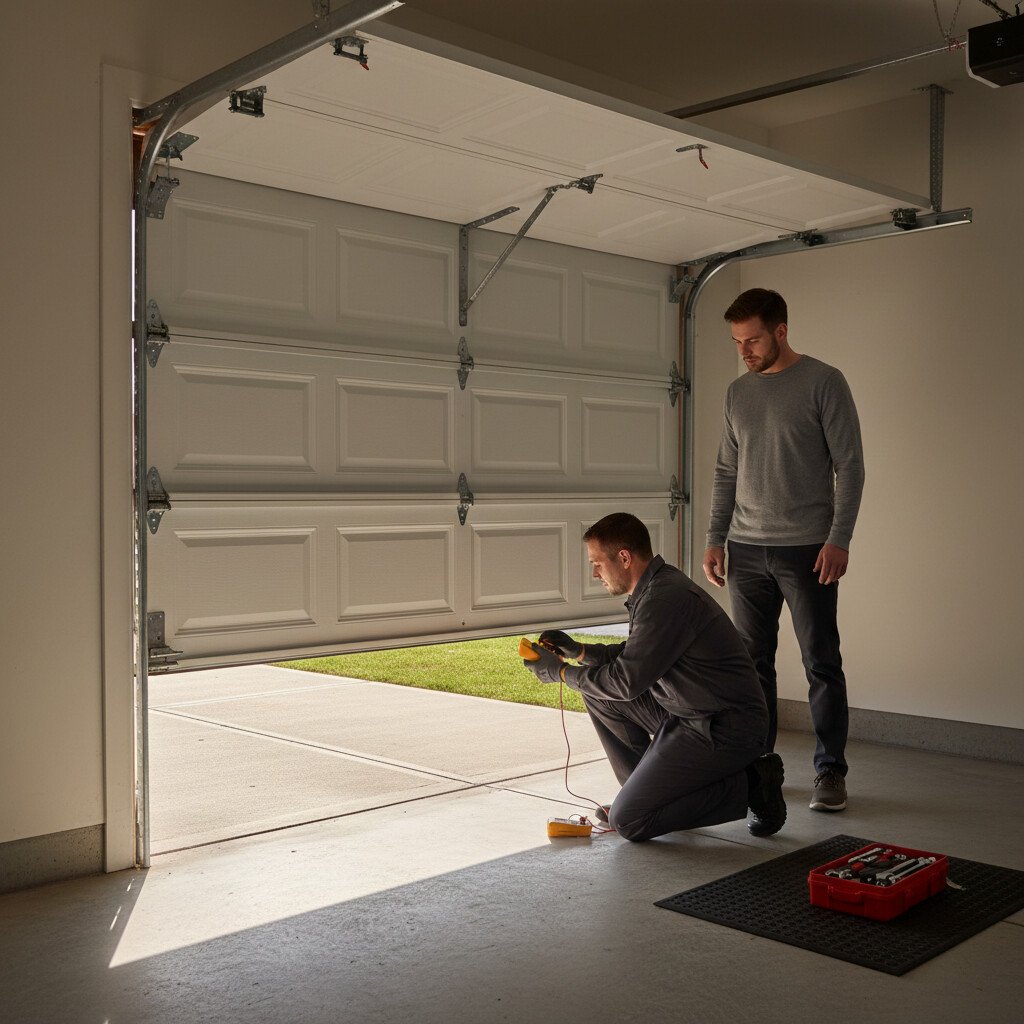
Although the opener runs, a door that won’t lift or reverses mid‑travel points to a safety interlock or force limit being triggered.
Verify photo-eyes first: clean lenses, confirm LEDs are steady, and correct sensor obstruction or misalignment.
Check door alignment at the header and jambs; unequal gaps indicate binding that spikes motor current.
Test balance by lifting manually with the opener disengaged—if it won’t hold at mid-height, springs need professional service.
Inspect the trolley release, limit settings, and force adjustments per the manufacturer.
Never increase force to mask resistance.
If reversal persists, disconnect power and schedule a qualified technician.
Sagging Panels and Off-Track Garage Doors
Sagging panels and off-track rollers signal structural stress that can escalate into a door collapse. You’re seeing misaligned sections, widened gaps, and rollers riding the edge or leaving the track.
These conditions increase binding, overload hinges, and strain the opener. Don’t operate the door; the risk of derailment and panel buckling is high. Inspect track plumb, roller wear, and panel deflection, then schedule professional realignment and reinforcement.
- Measure panel sag with a straightedge; note mid-span deflection.
- Check track fasteners, vertical plumb, and horizontal parallelism.
- Verify roller roundness, bearing play, and correct stem engagement to prevent off track doors and worsening sagging panels.
Frayed Cables, Rusted Springs, Loose Hardware
While a garage door may still lift, frayed lift cables, rusted torsion or extension springs, and loose hinges or track fasteners indicate imminent failure and a severe safety hazard.
Inspect cables for broken strands, birdcaging, kinks, and uneven cable wear near drums. Check springs for pitting, flaking, orange staining, or deformation—clear signs of spring corrosion and metal fatigue.
Inspect cables for broken strands, birdcaging, kinks, and drum-edge wear. Check springs for pitting, flaking, orange staining, or deformation.
Listen for sharp pops and observe uneven lifting or slamming. Verify hinge bolts, track brackets, and bearing plates are tight and not elongated. Don’t operate the door under these conditions. Lock it out, keep clear of the counterbalance, and call a qualified technician immediately.
Rust on coils, loose hardware, and cable fraying are early signs your system is running under extra stress—often right before a spring snaps. Use these preventative steps to prevent garage door springs from breaking due to rust and fatigue, so you can fix the cause before it becomes an emergency.
Garage Door Sensor Problems and Fixes
Photo-eye misalignment, grime, or wiring faults can stop a garage door cold and create unsafe, unpredictable movement. You should verify sensor alignment first: lenses must face each other at equal height, LEDs must be solid, and brackets must be tight.
Clean lenses with isopropyl alcohol and a lint-free cloth. Inspect low-voltage wires for abrasions, staples through insulation, or corrosion at terminals. If the door only closes while holding the wall button, suspect sensor circuit failure.
- Check sensor alignment: level both eyes, confirm LED status, tighten hardware.
- Apply systematic troubleshooting techniques: clean, test, isolate faults.
- Replace damaged wires or sensors; restore proper mounting and secure connections.
Opener and Remote Red Flags for Garage Door Repair
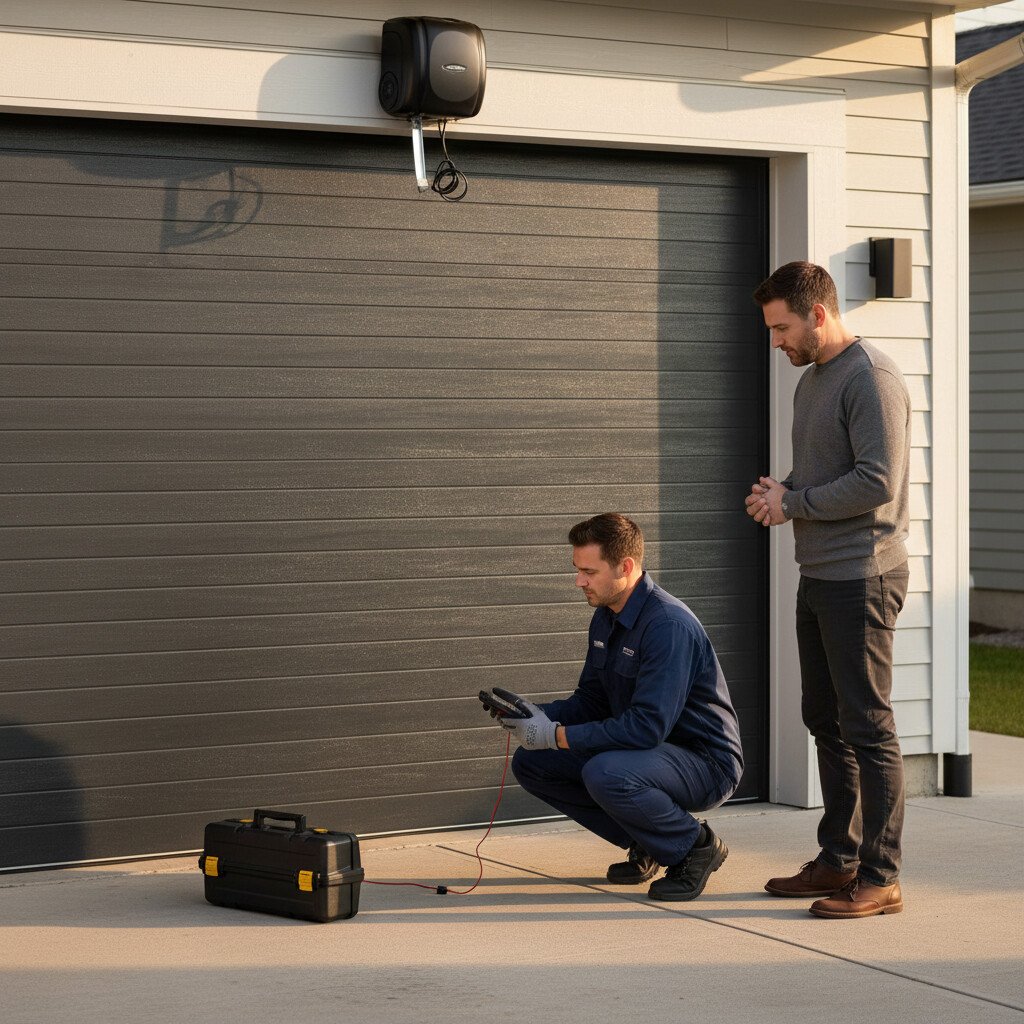
You should treat an unresponsive wall switch as a priority, checking for low-voltage control power and damaged wiring before further use.
Intermittent remote signals often point to weak batteries, RF interference, or a failing receiver, so isolate variables and test range safely.
If the opener motor strains—audible laboring, overheating, or slow travel—stop operation to prevent gearbox or torsion failure and schedule professional service.
Unresponsive Wall Switch
One telltale warning of opener trouble is an unresponsive wall switch—press the button and nothing happens, no motor hum, no indicator light, no relay click. That wall switch malfunction signals a power, wiring, or control-board fault.
Stay cautious: don’t bypass safety circuits or force the door.
- Verify power: check the breaker, GFCI, and outlet with a lamp or tester. Inspect the switch plate for cracked wires or loose terminals.
- Test low-voltage leads at the opener for continuity; look for staple damage or corrosion.
- If power and wiring pass, the logic board or transformer may have failed—stop use and call a pro for troubleshooting tips and repair.
Intermittent Remote Signals
Although the door sometimes responds, intermittent remote signals point to RF interference, weak power, or failing electronics in the opener or transmitter. You should perform remote troubleshooting methodically: replace the battery, reseat it, and confirm polarity. Check antenna orientation; it must hang freely, unpinched. Eliminate nearby RF sources—LED bulbs, routers, or vehicles’ chargers. Reprogram codes if multiple remotes collide on frequency. If range collapses, stop and contact a professional to prevent unsafe operation.
| Symptom | Likely Cause |
|---|---|
| Works near door only | Weak battery, damaged antenna |
| Random activation delays | RF noise from lighting or routers |
| One remote fails, others fine | Faulty transmitter, reprogram needed |
Opener Motor Strain
Grinding tones, labored starts, or a hot housing signal opener motor strain—often from binding tracks, unbalanced springs, or excessive door weight.
You’ll notice slow travel, dimming lights, and thermal stops. Continued use risks motor overheating, gear wear, and chain or belt failure. Prioritize opener maintenance before the motor cooks windings or the trolley seizes.
- Inspect balance: pull the release; the door should hold mid-travel. If it drops or rises, call a pro to adjust springs.
- Reduce load: clear debris, align tracks, lubricate rollers, and hinges.
- Verify settings: set travel and force per manual; measure amperage draw under load.
When your opener struggles to lift the door, arranging prompt garage door motor repairs can restore smooth operation.
Failing Balance Test: When to DIY vs Call a Garage Door Pro
How do you decide if a failed balance test is a quick tune-up or a safety-critical repair? Disconnect the opener, lift halfway, and release. If the door drifts more than 3 inches, hesitates, or slams, stop. You can apply light DIY Techniques: tighten hinge/track fasteners, lubricate rollers and bearings, replace worn nylon rollers, and check cable spools for fray-free seating. Never adjust torsion springs or high-tension cables—those require Professional Expertise.
| Condition | Action |
|---|---|
| Holds position within 3″ | DIY lubrication/fastener check |
| Rises or drops slowly | Inspect rollers; DIY replace |
| Drops quickly | Call pro—spring failure likely |
| Crooked travel | Pro alignment and cables |
| Noisy binding | Track plumb/level check DIY; else pro |
Conclusion
Don’t ignore warning signs—act before a minor issue explodes into a catastrophe larger than a collapsing skyscraper. If you hear grinding, see jerky travel, notice sagging panels, or catch the door reversing, stop operation and disconnect the opener. Test balance, inspect cables, springs, rollers, and sensors. Tighten hardware, lubricate tracks, and realign photo-eyes if you’re qualified. If springs are compromised, panels are off-track, or balance fails, call a pro immediately. Your safety—and the door’s integrity—depend on it.