When a homeowner in Denver paid $320 to replace a broken torsion spring, the final bill also included a $95 trip charge and a $40 safety inspection. You’ll face similar variables: door size, material, opener type, and local labor rates. Springs, cables, rollers, sensors, and panels each carry different risks and price ranges. Emergency calls add premiums. Knowing what’s safety‑critical and what’s optional can prevent overpaying—and a hazardous door—but here’s what most people miss.
Key Takeaways
- Typical repairs include spring replacement, cable resets, sensor alignment, opener repairs, and track adjustments; in metropolitan markets and during emergencies, pricing increases.
- Costs vary by door type, size, material, and mechanism; larger or insulated doors need higher-rated components and more labor.
- Springs and cables are major cost drivers; replace cables in pairs, and expect higher pricing for torsion spring work due to safety risks.
- Trip charges, minimum billing, shop supplies, and after-hours surcharges can add 25–100%; confirm scope, parts, and warranty terms before approving work.
- Replace the door if repairs exceed 40–50% of replacement cost or the door is 15+ years old; prioritize safety-critical failures first.
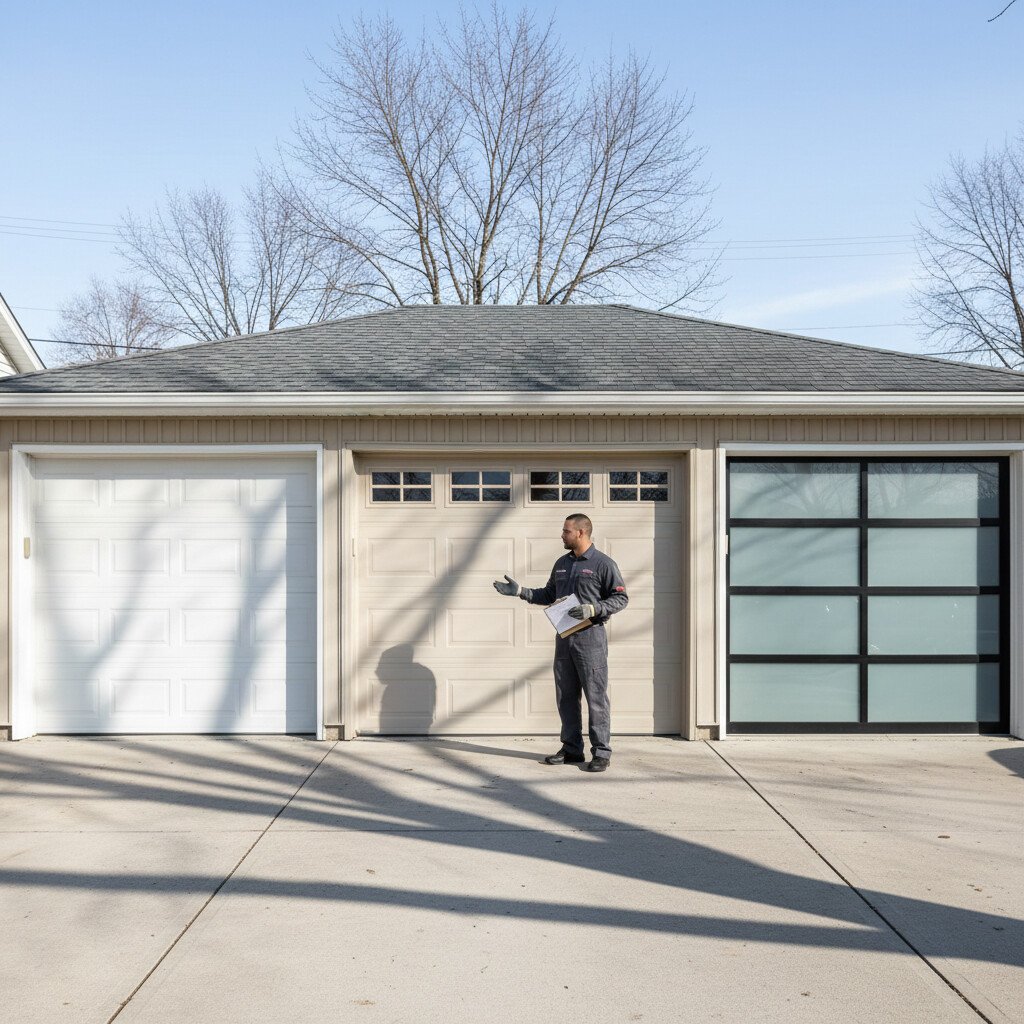
Garage Door Repair Costs: National and Local Averages
Before you hire a technician, it helps to understand what typical garage door repairs cost nationally and how those figures shift locally. You’ll see national medians cluster around common service calls—spring replacement, cable resets, sensor alignment—then diverge based on labor markets, parts availability, and permitting.
Metropolitan rates trend higher; rural zones may add travel fees.
To estimate your range, match your garage door type and repair frequency to local pricing: torsion vs. extension, single-panel vs. sectional, and insulated vs. non-insulated.
Check minimum service charges, emergency surcharges, and warranty terms.
Prioritize safety-critical failures—springs, cables, openers—because deferred repairs increase both risk and cost.
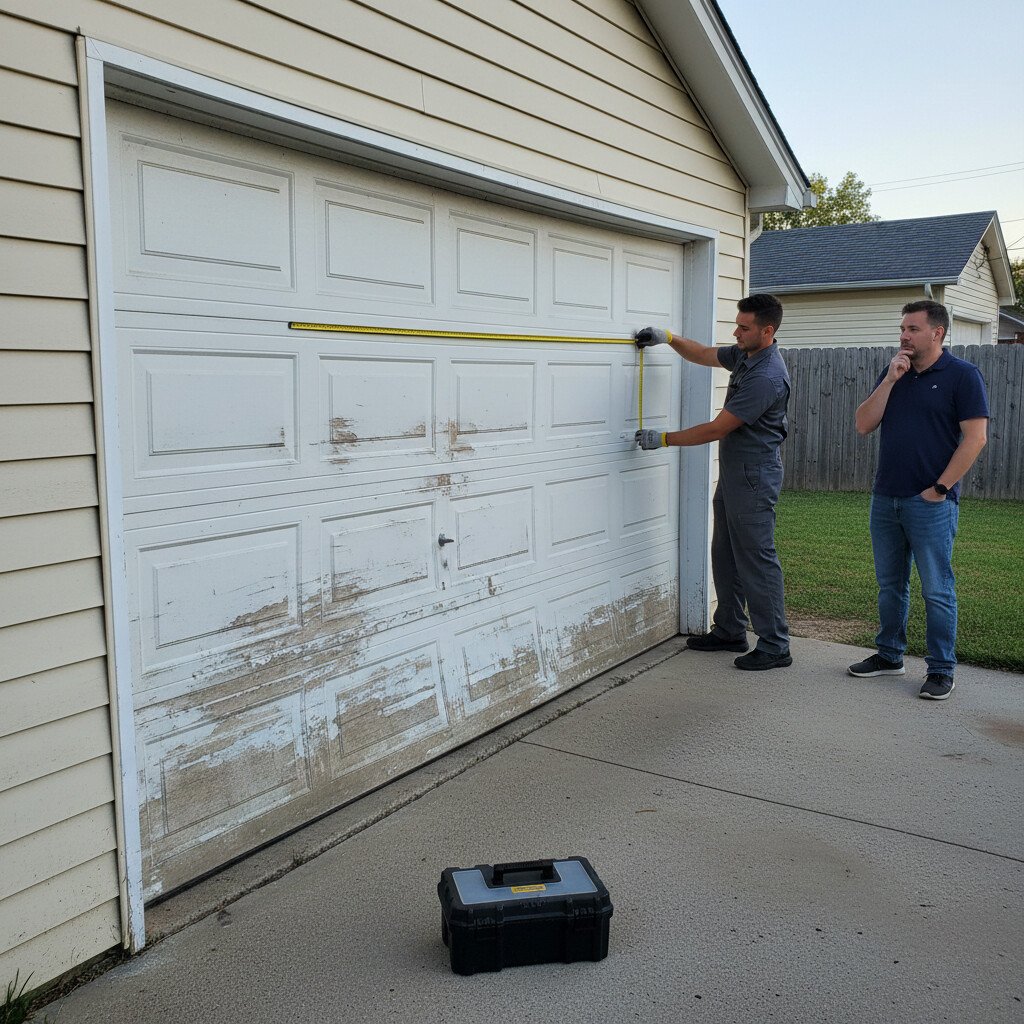
What Drives Garage Door Repair Costs: Door Type, Size, Materials
You’ll see repair costs vary based on door type, size, and material, as each affects hardware load, part complexity, and labor time.
Larger or insulated doors strain springs, cables, and openers more, so replacements often require higher-rated components and careful balance checks.
Door size and materials affect the price, but the specific issue usually determines the actual repair range—spring failure, track damage, cable problems, or opener faults all price out differently. Use this breakdown of repair prices by exact garage door problem to estimate costs more accurately before you compare quotes.
Materials matter too—steel and aluminum parts are common and cheaper, while wood and composite panels require specialized fasteners, corrosion protection, and additional safety measures during handling.
Understanding the total cost of a professional garage door repair helps homeowners budget properly and avoid unexpected expenses.
Impact Of Door Type
Although many factors influence repair bills, door type often sets the baseline for cost, complexity, and safety risk.
You’ll see clear differences across door types: tilt-up doors use few parts but require precise spring tuning; sectional doors add tracks, rollers, and panel interfaces; carriage-style swing-outs require hinge alignment and bracing; full-view aluminum frames demand careful glazing.
High-cycle torsion systems reduce long-term costs but require certified handling. Belt-driven openers pair best with sectional designs, while jackshaft units suit high-lift tracks.
Your material choices interact with hardware loads and repair methods, but the door’s operating mechanism chiefly drives labor time and safety controls.
Size And Material Effects
Size and material set the load path, wear rate, and safety envelope for every repair. When you evaluate size comparison and material durability, you’re predicting torque demand, hinge stress, and spring selection—direct cost drivers.
Larger doors need higher-cycle springs, heavier cables, and stronger openers; dense materials amplify loads and injury risk. Light materials reduce force but may dent, requiring panel replacements.
- Size: Wider/taller panels increase bending moments, bracket shear, and labor time.
- Steel: High durability; corrosion risk adds prep and parts.
- Aluminum: Light; dent-prone, panel swaps common.
- Wood/Composite: Heavy; swelling, fastener pull-out, and reinforcement escalate costs.
Labor, Trip Charges, and Emergency Fees to Expect
You’ll face standard hourly rates for technicians, which vary by certification level and job complexity.
Expect a separate trip charge covering travel time, fuel, and the initial inspection, which is often waived only if you proceed with the repair.
If you need service after hours or on weekends, plan for surcharges of 25–100%, and prioritize safety by avoiding DIY work on high-tension components while you compare quotes.
Emergency fees are one of the easiest places for bad actors to inflate the bill—especially when you’re stressed and just want the door working. Review how dishonest garage door contractors inflate fees and upsell parts so you can push back on vague “after-hours” charges and demand itemized pricing.
Standard Hourly Rates
Expect three cost components when you hire a garage door pro: labor, trip charges, and potential emergency fees. Focus first on standard hourly rates; they anchor your budget and help you compare bids. You’ll see regional variations based on labor markets, licensing, and insurance costs. Verify scope, parts handling, and safety compliance before approving work.
- Technician tier: apprentice, journeyman, or master affects standard rates and diagnostic accuracy.
- Job complexity: torsion springs, openers, or track alignment change time-on-task.
- Minimums: one-hour billing blocks and shop supplies often apply.
- After-hours premiums: nights/weekends add emergency uplifts; confirm quoted window and rate multiplier.
Trip Charge Breakdown
Two common add-ons—trip charges and emergency fees—sit beside hourly labor and materially change the invoice. You’ll see a trip charge cover technician travel, vehicle costs, and on-site diagnostics. Service fees bundle admin overhead and disposal. Emergency fees reflect rapid dispatch prioritization and standby labor. Verify what each line item includes, so you don’t double-pay for diagnostics.
| Item | Typical Scope |
|---|---|
| Trip charge | Travel, fuel, routing time |
| Service fees | Admin, scheduling, disposal |
| Diagnostic | Inspection, fault isolation |
| Parts delivery | Supplier pickup, restocking |
| Emergency fee | Priority dispatch readiness |
Ask for a written breakdown, mileage thresholds, and safety checks included.
Trip charges are fine when they’re upfront—but vague fees are where many homeowners overpay. Use this framework for checking a garage door repair company for hidden charges and unclear billing so you can confirm what’s included before a technician starts the job.
After-Hours Surcharges
Those line items for trip charges and emergency fees don’t stop at 5 p.m.—they usually increase after hours.
You’ll see higher labor multipliers, a separate call-out fee, and minimum billable hours. Ask about after hours availability before you’re stuck with a door that won’t close and a security risk.
- Labor: expect 1.25x–2x base rates; verify minimums (often 1–2 hours).
- Trip charge: nighttime zones may add miles or tolls; confirm stacking rules.
- Emergency service: flat “dispatch” fee plus parts at standard or premium markup.
- Safety priority: blocked sensors, broken springs, or door off-track justify surcharges; defer cosmetic fixes until regular hours.
Part-by-Part Costs: Springs, Cables, Rollers, and Tracks
Four core components drive most garage door repair bills: springs, cables, rollers, and tracks. You’ll see higher costs for spring replacement because torsion springs store dangerous energy—never DIY. Cables fray and snap under load; replace in pairs to keep tension balanced. Roller maintenance reduces noise and resistance; upgrade to sealed nylon for smoother travel. Tracks bend or rust; alignments are cheap, replacements aren’t. Expect labor to dominate when safety risks rise.
| Fear | Relief |
|---|---|
| Sudden spring snap | Certified spring replacement |
| Frayed cable near door edge | New paired cables |
| Flat-spotted rollers | Quiet roller maintenance |
| Warped tracks | True, plumb tracks |
Track costs swing a lot depending on whether it’s a minor alignment issue or structural rail damage that affects door travel. This comparison of track repair costs versus installing new tracks helps homeowners understand when paying for repeated fixes stops making financial sense.
Opener and Sensor Repair Costs
A faulty opener or misaligned safety sensors can halt your door and add diagnostic time to the bill. You’ll see costs vary by opener types (chain, belt, screw, DC jackshaft) and the severity of sensor issues.
Expect fees for travel, testing, and firmware updates. Technicians verify force limits, travel stops, photo-eye alignment, and wiring continuity to restore safe operation.
- Opener repair: logic board, capacitor, gear kit, or motor; parts $40–$220, labor $90–$180.
- Sensor alignment: clean lenses, re-aim, tighten brackets; $50–$120.
- Wiring faults: splices or replacements; $75–$160.
- Safety recalibration: force/travel tuning and testing; $60–$140.
Costs are easier to control when you catch the problem early—before a failing part stresses the opener, track, or springs. This guide to early signs your garage door needs professional repair helps you spot the red flags that often lead to expensive opener-related repairs.
Panel Repair vs Full Replacement Costs
After electronics and sensors check out, the next cost driver is the door skin itself—bent, cracked, or rusted panels change the repair calculus.
If panel damage is localized, you’ll often pay for a single section plus labor, color-matching, and hardware transfer. Expect higher costs for insulated, carriage-style, or custom finishes.
Multiple compromised sections, structural kinks, or misaligned tracks usually push costs near a full-door replacement.
Full replacement resets all sections, hinges, rollers, and weather seals, improving rigidity and safety. It also standardizes warranty coverage and simplifies the replacement timeline.
Factor disposal fees, lead times, and spring recalibration into either option’s total cost.
Panels often warp after heat exposure or take damage during storms and wind events, and that changes both the repair approach and the cost. This weather-damage garage door repair guide for panels and track issues helps you identify what to inspect after extreme heat, rain, or impact.
Repair or Replace Your Garage Door: How to Decide
When should you repair vs. replace a garage door? Use a cost, safety, and life-cycle lens. If structural members are bent, tracks warped, or panels rusted through, replacement often restores safety and alignment.
For isolated hardware failures—rollers, cables, sensors—targeted repair preserves garage door longevity at lower cost. Consider opener compatibility and wind-load ratings before deciding.
- Quantify: if repair exceeds 40–50% of replacement and the door is over 15 years, lean replacement.
- Safety: broken springs, cracked hinges, or misaligned tracks raise risk—prioritize compliant systems.
- Performance: persistent imbalance or noise suggests fatigue.
- Materials: delamination or rot tips repair versus replacement toward replace.
If you’re stuck between another repair and a full replacement, it helps to weigh door age, safety risks, and whether the issue is isolated or part of broader deterioration. This guide on how to evaluate if garage door repair is worth the money walks through the exact checks that make the decision clearer.
Save on Garage Door Repair: DIY Checks, Maintenance, and Warranty Tips
Though major fixes demand a pro, you can cut repair costs by handling safe, routine checks and maintenance, and by using warranty coverage wisely.
Start with diy maintenance: test photo-eyes, tighten hinge and track fasteners, lubricate rollers, hinges, and springs with non-silicone garage lubricant, and balance-check the door by disconnecting the opener.
Replace brittle weatherstripping, clear tracks, and recalibrate opener force and travel per the manual. Never adjust torsion springs or cables. Document dates, parts, and photos.
Use warranty tips: register products, read exclusions (springs, labor, finish), keep proof of maintenance, and contact the manufacturer before authorizing repairs to preserve coverage.
The cheapest repair is the one you never need—especially when small friction issues slowly destroy rollers, tracks, and springs. These cost-saving maintenance fixes for durable garage doors show what to check regularly so you can reduce breakdowns and keep repair bills predictable.
Conclusion
You’ve seen how door type, size, materials, and labor shape repair costs—and how a quick safety check can save you a fortune. Compare part prices, factor trip and emergency fees, and decide repair vs. replace with clear thresholds. Tackle simple maintenance, but stop instantly if springs, cables, or sensors misbehave—they can snap faster than lightning. Document warranties, get multiple quotes, and schedule annual tune-ups. Act early, stay safe, and you’ll keep your garage operating with clockwork reliability.