Last winter, a client’s door scraped and stalled until a simple balance test exposed a weak spring and dirty tracks. You can start the same way: identify the real issue before grabbing tools, then verify balance, auto‑reverse, and force. Lubricate hinges with lithium spray, tighten fasteners, and clean tracks for quick gains. Upgrade to nylon rollers and a brushless opener to cut noise and add battery backup. Align sensors and tune travel limits to avoid costly damage next.
Key Takeaways
- Clean tracks and weather seals regularly; tighten loose hinges, brackets, and struts; lubricate hinges and torsion springs with garage-rated lithium or PTFE spray.
- Align and clean safety sensors; ensure solid LED indicators; test photo-eye reversal and contact reversal with a 2×4.
- Check door balance by disconnecting the opener; a balanced door stays halfway. Address jerky or heavy movement before further use.
- Reduce noise and wear by upgrading to nylon sealed-bearing rollers and a belt-drive, brushless opener with soft start/stop.
- Seal drafts with quality EPDM bottom seals and PVC/aluminium side/header weatherstripping, fitted with uniform compression and precise cuts.
Find the Real Garage Door Issue First
Start with a systematic check.
Begin garage door troubleshooting by observing symptoms such as noise, hesitation, drift, or non-response.
Begin troubleshooting by noting symptoms: unusual noise, hesitation, drifting, or total non-response.
Verify power, breaker, and outlet.
Inspect photo-eyes for alignment and contamination; clean and ensure LEDs are solid.
Check the wall control lock, remote batteries, and range.
Examine tracks for debris, dents, and fastener looseness; tighten and realign.
Inspect rollers for wear or flat spots; lubricate nylon or steel bearings, not tracks.
Look for frayed lift cables and gaps in torsion springs; if damaged, stop and call a pro.
Test limits only after mechanical checks.
Document findings to separate common issues from rare faults.
Misdiagnosis is where many scams start—turning a simple adjustment into “you need a new opener/springs/track today.” This guide to spotting deceptive garage door repair practices and unnecessary replacements helps you verify the real issue before you agree to costly work.
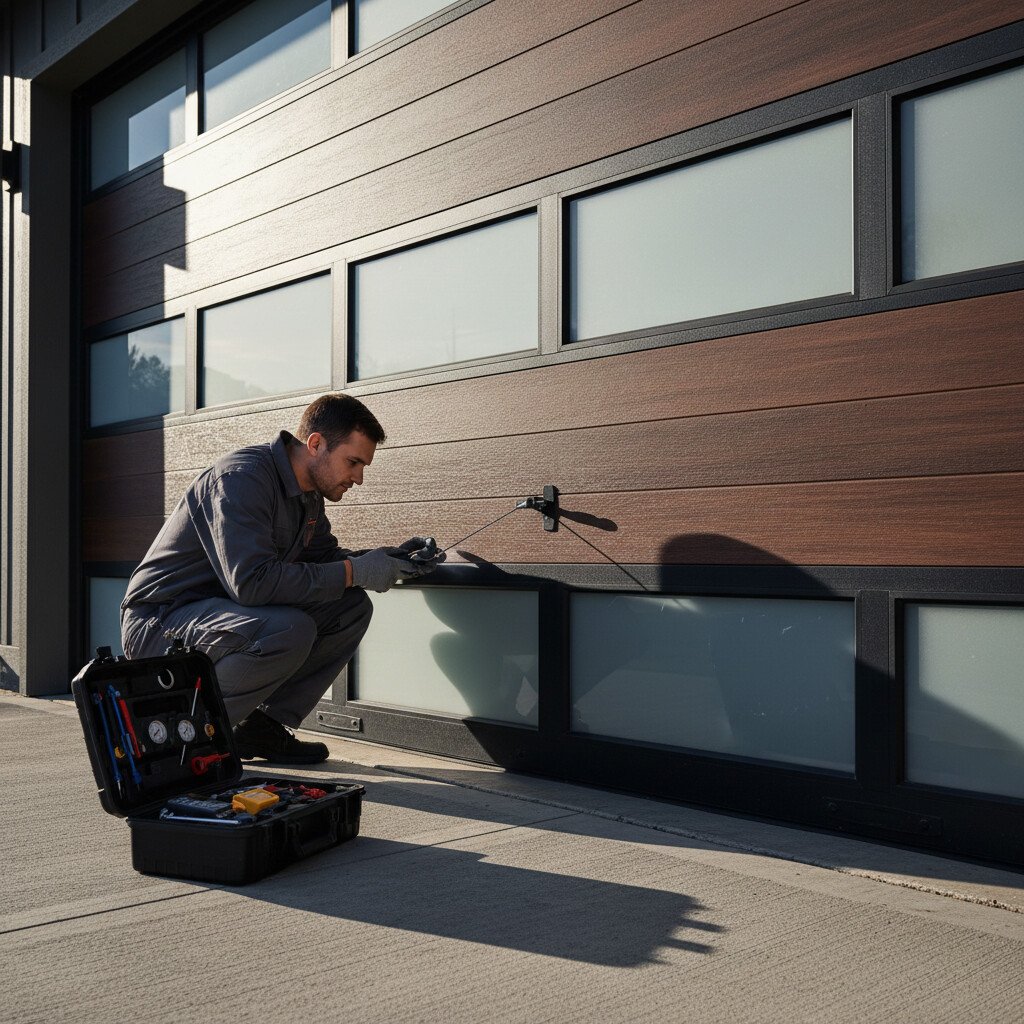
Test Balance, Auto-Reverse, and Force Safely
With basic faults ruled out, verify the door’s mechanical balance and the opener’s safety responses before adjusting anything.
Perform balance testing by pulling the release, lifting the door halfway, and observing drift; more than a few inches signals spring or track issues.
Reconnect and validate safety features: photo-eyes must reverse on beam break; contact reversal must trigger on a 2×4 under the closed path.
Adjust force and travel per the manual, then retest.
1) Disconnect, lift halfway, check drift.
2) Test photo-eyes with an obstruction.
3) Place a 2×4, confirm reversal.
Stop if motion is jerky, noisy, or inconsistent.
Quick Garage Door Wins: Lube, Tighten, Clean
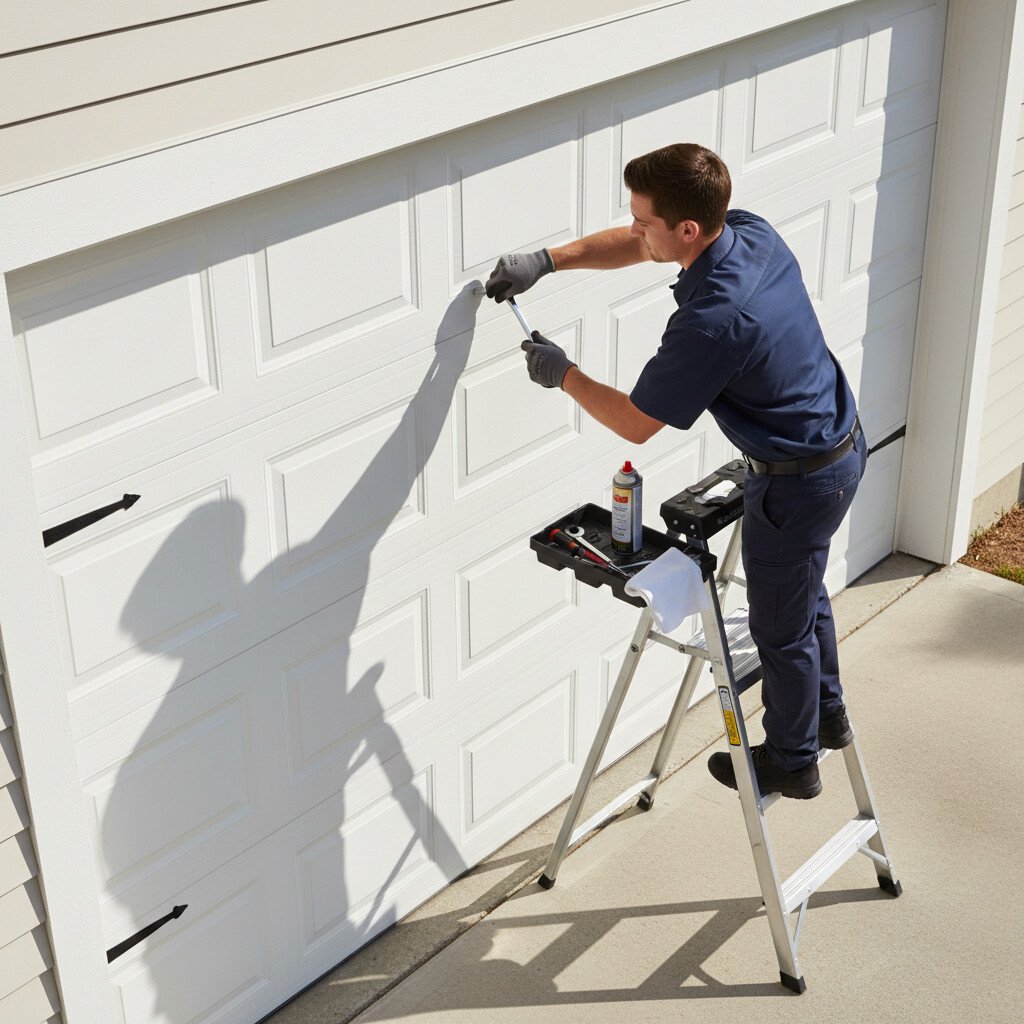
Even when the opener works, friction and loosened hardware can strain the system and mask bigger issues, so knock out fast maintenance first.
Start with cleaning. Wipe the tracks’ running surfaces and weatherstrip with a dry cloth; remove grit that accelerates wear. Don’t use solvents on plastic components.
Start by cleaning: wipe tracks and weatherstrip dry; remove grit. Avoid solvents on plastics.
Next, tighten hinge, bracket, and strut fasteners with a nut driver—snug, not over-torqued. Verify lag screws bite solid framing.
Apply targeted lubrication techniques. Use lithium spray on hinges and torsion spring coils; apply a thin film, then cycle the door to distribute. Avoid oil on cables or belts.
Document dates—consistent garage door maintenance extends service life.
Most noisy doors get that way from a few repeat causes—dry hinges, loose fasteners, dirty tracks, and worn rollers. Use this quick-fix guide to reduce garage door noise and vibration to apply the highest-impact steps in the right order.
Quiet Garage Door Hardware: Rollers, Hinges, Tracks
You can cut door noise fast by upgrading to nylon or sealed-bearing rollers matched to your track size.
Lubricate hinges with a non-silicone, garage-rated lithium or PTFE spray, targeting pivot points while keeping tracks clean and dry.
Check track alignment with a level and consistent 1/4–1/2 inch gap to the door; adjust brackets incrementally and re-tighten hardware to spec.
Low-Noise Roller Options
Although the opener often gets blamed for racket, the rollers are usually the bigger source of noise, so upgrading them delivers immediate quiet.
Focus on roller materials, bearing design, and stem fit to achieve quiet operation. Nylon rollers with sealed ball bearings reduce vibration, resist corrosion, and roll smoothly on clean, true tracks.
1) Choose materials: nylon beats steel for sound; Teflon-infused nylon cuts friction further; avoid plastic bushings.
2) Select bearings: sealed 6200-series bearings limit grit intrusion and maintain concentricity under load.
3) Match specs: use 4–6-inch stems, 7–10-ball designs, and 2-inch wheels rated for your door’s weight; verify track gauge tolerance.
Hinge Lubrication Tips
While rollers get the spotlight, hinges transmit a lot of vibration, so proper lubrication is critical for quiet travel and long life. For hinge maintenance, clean each knuckle with a lint-free rag, then apply a garage-rated lithium or silicone lubricant. Avoid grease that hardens or attracts grit. Target the pivot pin, sleeves, and side plates; wipe excess to prevent dust loading. Cycle the door to distribute oil, then reapply lightly if squeaks persist. Inspect for ovalized holes or loose fasteners before lubricating.
| Task | Details |
|---|---|
| Cleaner | Solvent or isopropyl alcohol |
| Lube type | Non-detergent lithium or silicone spray |
| Interval | Every 6 months; monthly in dusty zones |
Use disciplined lubrication techniques.
Routine lubrication and inspections help extend system life and minimize costly garage doors repair later on.
Track Alignment Basics
Two rails guide every garage door, and their alignment dictates noise, wear, and safety. You’ll perform a quiet operation by confirming plumb, level, and parallel tracks.
Identify misalignment causes: loose lag screws, bent brackets, racked framing, or roller wear. Use measured gaps: track-to-jamb about a door thickness plus 1/8 inch. Apply track adjustment techniques methodically—loosen, tap, re-square, retighten.
- Inspect: sight down tracks, check plumb with a level, verify equal spacing at rollers.
- Adjust: loosen mounting bolts, shim brackets, true verticals before horizontals.
- Validate: run the door manually, listen for rub, confirm smooth travel, re-torque hardware.
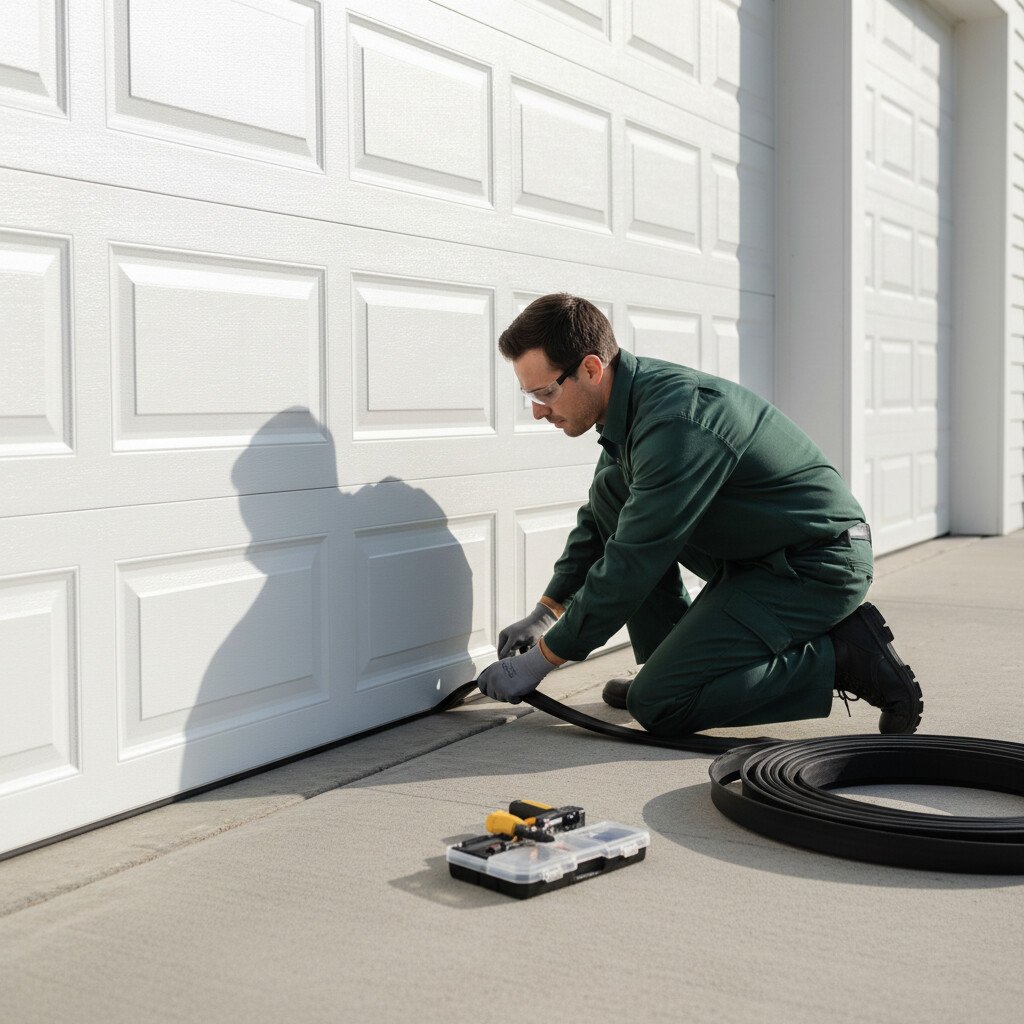
Seal Out Drafts With Better Weather Stripping
You’ll start by tracing drafts at the bottom seal, side jambs, and header, then confirm gaps with a smoke pencil or infrared thermometer.
Next, select durable materials—EPDM or silicone bottom seals, rigid PVC/aluminum retainers, and closed-cell foam or brush seals for the sides and top—rated for your climate.
Finally, install with precise cuts, clean surfaces, correct fastener spacing, and uniform compression to eliminate light gaps without binding the door.
If the door still sticks or behaves differently after storms or temperature extremes, weather may be causing track shift, sensor issues, or panel movement—not just a seal problem. This garage door storm-and-temperature troubleshooting checklist walks through what to inspect and fix after harsh conditions.
Identifying Draft Sources
Cold edges and sneaky gaps are the usual culprits behind a drafty garage door. Use draft detection to pinpoint air leaks before replacing seals. Work when it’s windy or create pressure with a box fan blowing outward.
Hold an incense stick or thin tissue around the edges to visualize airflow. Verify with a laser thermometer for temperature drops along seams.
1) Inspect perimeter: bottom sweep, jamb seals, and header stop for light penetration and crushed foam.
2) Check panel joints: hinge lines, meeting rails, and cracked sections.
3) Evaluate interfaces: track brackets, opener penetration, sensor wiring holes, and threshold transitions. Mark leaks for targeted sealing.
Choosing Durable Materials
With leak points marked, select weather stripping that matches the gaps, door type, and climate, so it fixes last.
Choose bulb, T‑style, or brush profiles based on gap size and surface irregularity. For steel vs aluminium doors, note thermal conductivity: aluminium frames expand more, so prefer flexible EPDM or silicone bulbs.
On steel doors, dense vinyl or EPDM maintains compression longer. For jambs, use aluminium retainers with UV-stable seals; for bottoms, opt for double-fin inserts in corrosion-resistant tracks.
In coastal zones, stainless fasteners resist galvanic reaction with aluminium. Consider fibreglass options for threshold ramps—dimensionally stable, non-corroding, and compatible with de-icing salts.
Proper Installation Steps
Start by staging the work: clear the door track area, gather the correct seal profile, retainer, fasteners, and cutting tools, then verify the door’s travel and balance.
Use an installation checklist to confirm sizes match the door frame and threshold. Measure twice, cut once, and pre-drill aluminium retainers to prevent wandering.
- Remove old seals and debris; degrease contact surfaces for adhesion and smooth sliding.
- Fit the retainer square to the door frame; fasten from centre outward, maintaining uniform compression.
- Insert weather stripping, leaving a slight preload; trim corners, seal joints.
Cycle the door, check light gaps, adjust compression, and re-tighten.
Tune Garage Door Sensors, Travel, and Force Settings
Although the opener does most work automatically, you still need to tune the safety sensors, travel limits, and force so the door runs smoothly and safely. Start with sensor alignment: mount both eyes at equal height, aim LEDs solidly, clear obstructions, and tighten brackets. Set travel: run the door, adjust up/down limits until it stops gently at the floor and header. Perform force calibration: with the door moving, reduce force until it reverses on a 2×4 test.
| Visual cue | Action |
|---|---|
| Solid LEDs | Lock brackets |
| Dim/flicker | Realign sensors |
| Hard stop | Back off down limit |
| No reversal | Lower force |
When to Upgrade or Call a Pro: Springs, Rollers, Brushless Openers
You’ve tuned sensors, travel, and force; now decide what work stays DIY and what warrants an upgrade or a pro. Torsion spring replacement is high-tension, high-risk; if coils gap, door feels heavy, or balance fails, hire a certified tech.
Nylon rollers with sealed bearings reduce friction; swap noisy, flat-spotted steel rollers yourself if stems are straight and hinges intact.
1) Springs: choose the correct wire size, IPPT, and cycle rating; pros set torque safely.
2) Rollers: 13-ball nylon, 4” stems, replace except at the bottom bracket (pro only).
3) Brushless opener upgrade: DC motor, soft start/stop, battery backup, belt drive, integrated Wi‑Fi.
Sometimes the best “fix” is knowing when upgrades outperform another repair—especially if you’re paying repeatedly for the same symptoms. Use this guide for judging repair vs replacement based on long-term payoff to decide whether you’ll actually save money by repairing again.
Conclusion
You’ve got the tools to keep your garage door running like a well‑oiled machine. Diagnose issues first, verify balance and safety stops, then tackle quick wins: lube, tighten, and clean. Upgrade noisy parts with nylon rollers and a brushless opener for quieter, smarter operation. Seal drafts, align sensors, and fine‑tune travel and force to protect the door and opener. When springs or major components fail, don’t wing it—call a pro. Small, smart fixes now prevent costly breakdowns later.