Before you touch the door, kill power to the opener, verify the manual release works, and confirm photo-eyes are aligned. Then triage: is the door stuck, noisy, or off-track? Gather PPE (gloves, eye protection), blocks, and proper tools, and clear the threshold. You’ll inspect panels, tracks, fasteners, seals, and electronics for weather damage—ice, heat warping, moisture, or impact. With risks identified, you can proceed methodically—if you know which fixes are safe to DIY and which require a pro.
Key Takeaways
- Kill power, lockout the opener, and verify door balance using manual release before any weather-related inspection or repair.
- Identify weather damage: warping, dents, cracked panels, corroded hardware, failed seals, misaligned or sun-failed photo eyes.
- Assess risks: structural integrity, spring balance, water intrusion, sensor failure, and unsafe operation in current weather conditions.
- Perform repairs: replace seals/panels, tighten or replace hardware, lubricate rollers/hinges, realign/hood photo eyes, recalibrate travel/force.
- Prevent recurrence: schedule seasonal maintenance, apply anti-corrosion coatings, ensure drainage, control humidity, and test UL 325 safety reversals.
- When weather-related issues escalate unexpectedly, reliable 24/7 door repair keeps your garage protected around the clock.
Quick Safety and Triage: Power, Manual Release, Sensors
Before you touch anything, kill power to the opener at the breaker or unplug it to prevent unexpected movement.
Verify lockout/tagout if available. Wear eye protection and gloves as safety precautions.
Verify lockout/tagout if available. Wear eye protection and gloves as safety precautions.
Check the door’s balance from the closed position only. Pull the manual release cord downward to disengage the trolley; keep feet clear and lift smoothly to test free travel.
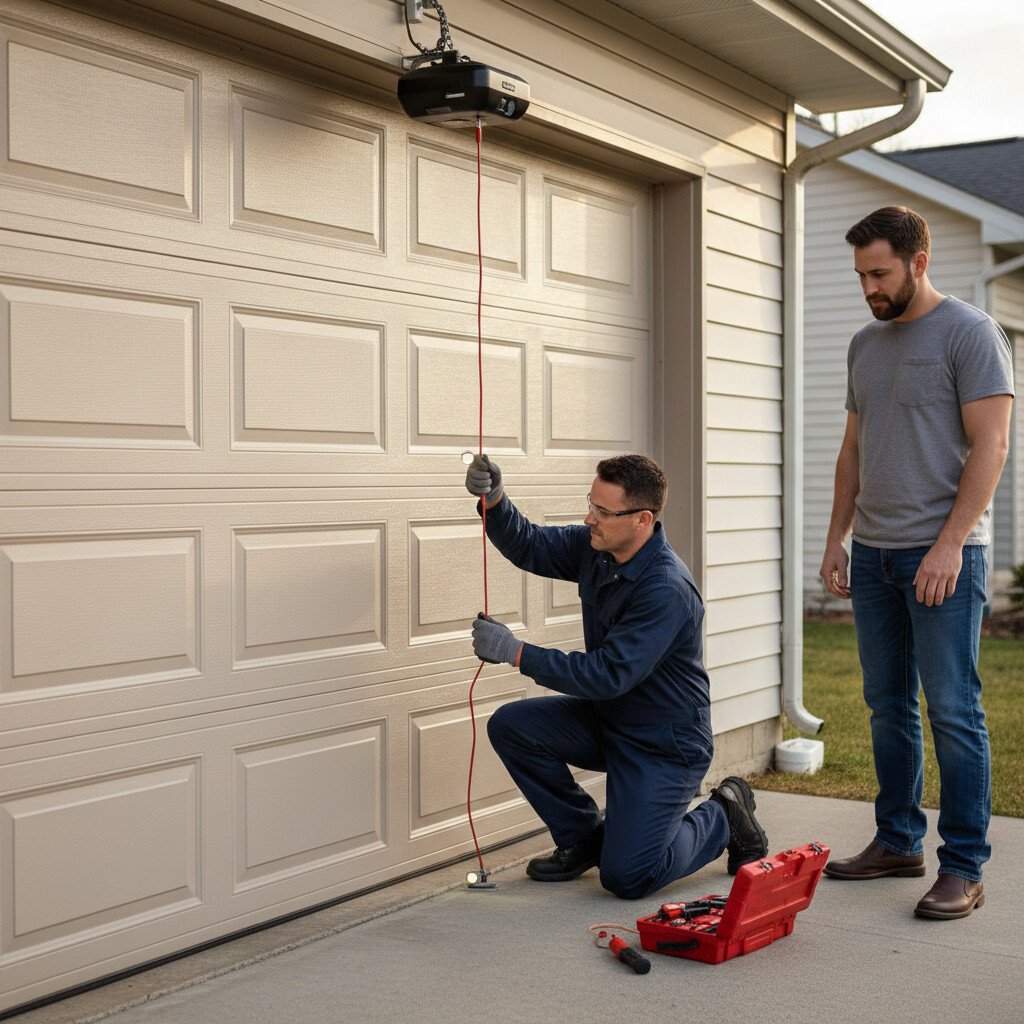
For weather exposure, inspect photoelectric sensors: confirm both lenses are clean, aligned at 4–6 inches above floor, and securely mounted. Ensure wiring is intact, dry, and strain-relieved.
Test emergency procedures: confirm you can re-engage the trolley and restore power safely.
Weather issues can look “simple” but still turn risky fast—frozen seals, wet sensors, and track binding can lead to forced operation and damage. Use this DIY vs pro garage door repair decision guide to know when troubleshooting is safe and when calling a technician prevents bigger problems.
Diagnose the Garage Door: Stuck, Noisy, or Off-Track?
How do you pinpoint whether the door is stuck, noisy, or off-track without creating a hazard? First, disconnect power and use the manual release with the door fully down.
Lift halfway; if it drifts, springs need service—don’t adjust them yourself. Roll the door slowly to feel the binding points.
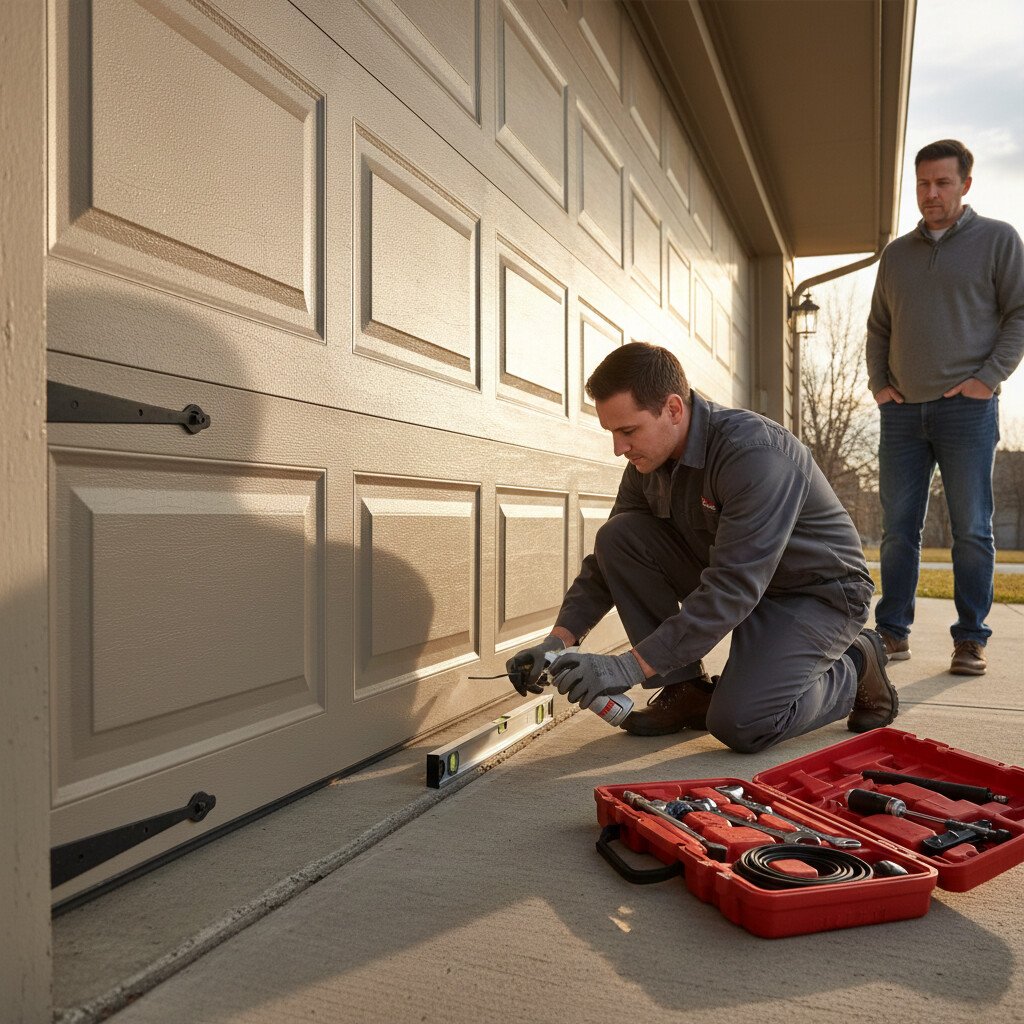
Inspect track alignment with a level; rails must be parallel and plumb, fasteners tight, and clearance uniform. Check rollers for flat spots and seized bearings.
Verify hinges and brackets aren’t cracked. Test garage door sensors for steady indicator lights and proper beam aim.
Listen: grinding suggests rollers, squealing points to dry bearings, and banging indicates misalignment.
Weather can accelerate gradual wear—humidity increases rust, debris increases friction, and temperature swings affect alignment. This resource on how to check for wear-and-tear damage in rollers, tracks, hinges, and cables helps you confirm whether weather is exposing a deeper mechanical issue.
Cold, Ice, and Snow Fixes: Seals, Tracks, Frozen Sensors
In freezing conditions, you’ll inspect and replace worn bottom and side weather seals to maintain an R‑value barrier, prevent track ice buildup, and keep the door balanced per manufacturer specs.
If the photo‑eye sensors are frozen, you’ll power down, clear ice with non‑abrasive methods, warm the housings to above 40°F, and realign to the code‑required beam height and indicator status.
Confirm proper operation with force and reversal tests, and restore power only after all safety devices pass.
Replacing Weather Seals
Two components keep winter out and your garage door compliant: intact weather seals and unobstructed tracks/sensors.
Begin with a visual inspection: look for cracks, compression set, light infiltration, and gaps at corners. De-energize the opener and secure the door. Measure the bottom retainer profile and side/top channel widths.
Purchase compatible weather stripping rated for low temperatures. For seal replacement, remove the old insert, clean channels with isopropyl alcohol, and dry fully.
Apply silicone-safe lubricant, slide in the new seal without stretching, and trim flush. Verify uniform contact on level concrete. Adjust the bottom retainer and track alignment per the manufacturer’s tolerances.
Thawing Frozen Sensors
When cold snaps hit, photo-eye sensors often ice over, misalign, or lose power, disabling the safety reversal circuit and stopping the door. Unplug the opener, lock the door down, and inspect both lenses.
Use approved thawing techniques: warm compresses or a hair dryer on low, never open flame. Wipe moisture, then realign LEDs until solid. Verify 6-inch mounting height, secure brackets, and intact low-voltage wiring. Shield from drip lines.
- Test beam: block the path; door mustn’t close.
- Restore power; run force and limit tests per manual.
- Replace cracked hoods, corroded splices, or persistently frozen sensors.
Heat and Sun Fixes: Warped Panels, Photo Eyes, Opener Limits
Although summer sunlight seems harmless, sustained heat can warp steel or vinyl panels, misalign photo eyes, and push opener travel or force limits out of spec.
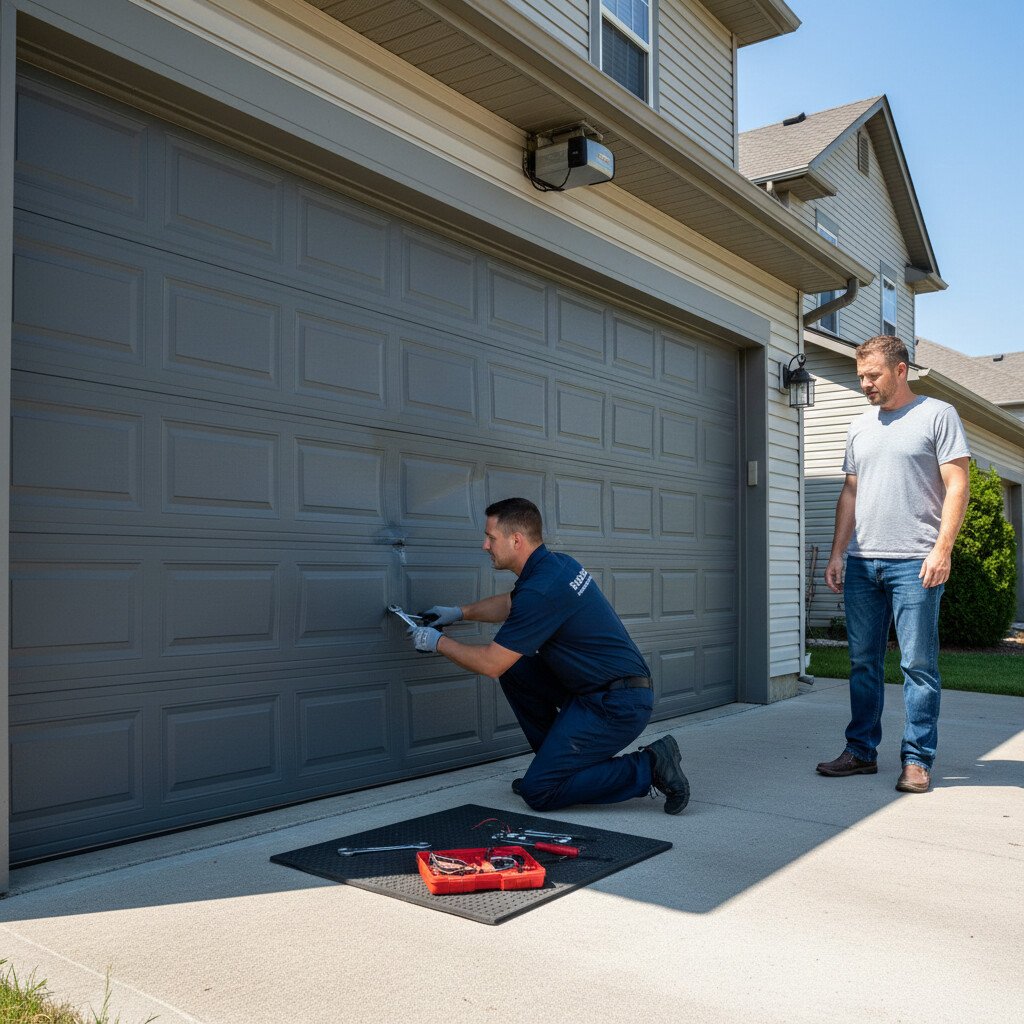
Inspect each section for bowing, oil-canning, or cracked skins indicating heat damage; execute panel replacement if deflection exceeds manufacturer tolerances.
Verify track plumb and roller free-play. Clean photo eyes, then align them using a level and the indicator LEDs; shield them from direct sun with hoods.
Recalibrate opener travel and force per UL 325: set downforce minimal yet reliable, test reversal with a 2×4, and retest monthly.
Replace sun-brittled wiring or faded lens covers.
Heat can expose weaknesses that were already developing—like warped sections rubbing the track or hardware loosening under expansion. This urgent garage door repair signs checklist helps you tell whether the symptom is just weather-related or a real mechanical failure starting.
Rain and Humidity Fixes: Swollen Wood, Slips, Shorted Sensors
Moisture creeps into every weak point, so treat rain and humidity as active load cases that change clearances, friction, and circuitry. Inspect door thickness and edge swell; swollen wood binds in tracks and overloads the opener.
Dry, de-energize, and test GFCI-protected circuits. Correct slip by degreasing rollers, then apply light silicone, not oil. For sensor issues, clean lenses, align per manufacturer height and LED status, and replace corroded splices with gel-filled connectors. Weather-strip gaps and seal end grains.
1) Measure panel moisture content; refinish above 15%.
2) Verify photo-eye voltage and beam path.
3) Test auto-reverse with a 2×4 per UL 325.
Wind and Impact Fixes: Track Alignment, Hardware, Panel Bracing
Even after a mild storm, treat wind load and impacts as structural events that can push tracks out of plane, loosen fasteners, and buckle panels.
Lock out power, keep the door down, and verify spring containment. Check track plumb and reveal; re-square with slotted brackets, then torque lag screws to manufacturer values.
Replace bent angles, cracked jamb brackets, and distorted flag brackets. Confirm roller stems are true; upgrade to heavy-duty rollers for impact resistance.
Inspect panels for wind damage; add rated struts per door width and code. Use carriage bolts with washers and locknuts.
Rebalance travel only after structural corrections.
After wind or impact, tracks can twist just enough to cause sticking, uneven gaps, or a door that won’t seal properly. Use this checklist for evaluating damaged tracks to choose repair or replacement so you don’t keep fighting recurring alignment issues after every storm.
Seasonal Garage Door Maintenance: Lube, Seals, Balance, Tests
You’ll set a seasonal maintenance routine that covers a precise lubrication schedule, weatherseal inspection/replacement, door balance verification, and required safety tests.
Use manufacturer-specified lubricants on hinges, rollers, and bearings; check bottom and perimeter seals for compression and light gaps; and confirm balance with the door disconnected per ASTM/UL guidance.
Test photo-eyes, force-reversal, and manual release to meet UL 325 and local code, and stop if any step exposes spring or cable hazards.
Seasonal maintenance works best when it’s paired with consistent small improvements that protect parts from humidity, heat expansion, and winter friction. Follow this guide to year-round strategies for keeping garage doors running longer so weather doesn’t shorten your door’s lifespan.
Lubrication Schedule Basics
Although it seems simple, a disciplined lubrication schedule keeps the door quiet, reduces wear, and prevents unsafe operation.
You’ll select correct lubrication types (non-silicone, garage-rated lithium or synthetic) and apply them with a defined maintenance frequency. Clean tracks only; don’t grease them. Lubricate hinges, rollers (sealed bearings excluded), torsion spring coils, and opener rail trolley—never the belt. Wipe excess to avoid slippage. Disconnect power before work and use PPE.
- Quarterly: light lube in mild climates; monthly in dusty, coastal, or freezing conditions.
- After heavy storms: reapply to displaced points.
- Annually: inspect for leaks, contamination, or hardened residue; replace products.
Seal, Balance, Safety Tests
Two seasonal checks keep a garage door efficient and safe: weather sealing and system balance with safety tests. Inspect bottom, side, and top seals; perform seal maintenance by cleaning tracks and replacing brittle vinyl. If light shows through, schedule seal replacement. Test balance: disconnect the opener, lift halfway; the door should hold. If it drifts, springs need professional adjustment. Verify photo-eyes: clean lenses, test obstruction reversal per UL 325. Check force limits using a 2×4.
| Task | Risk if Ignored | Feeling |
|---|---|---|
| Seal maintenance | Water intrusion | Damp |
| Seal replacement | Energy loss | Frustrated |
| Balance test | Spring failure | Uneasy |
| Photo-eye test | Injury hazard | Alarmed |
| Force test | Damage risk | Tense |
Conclusion
You’ve turned chaos into code-compliant order: from power isolation to manual release, from frozen seals to warped panels. You balance speed with safety—lockout/tagout before lubrication, torque checks before track alignment, sensor calibration before panel bracing. Cold sticks; heat warps. Rain swells; wind twists. Yet you counter with proper fastener torque, IP-rated sensors, UL-325 testing, and ASTM-compliant weather stripping. Finish by verifying balance, reversing force, and photo-eye alignment. What weather disrupts, your disciplined maintenance restores.