You might think minor spring issues can wait, but that theory fails when tension and load create hidden hazards. If you spot gaps in coils, frayed cables, uneven lifting, or hear grinding or snapping, you should stop using the equipment. DIY is only safe for light-duty springs without stored load; anything under tension needs a pro with proper tools. Next, you’ll learn how to decide quickly what it should cost and how to pick the right technician.
Key Takeaways
- Call a pro if you see visible damage: frayed cables, gaps, rust, stretched or missing springs, or distorted frames.
- Seek help when movement is abnormal: door drifts, lifts unevenly, feels heavier, or vehicles bounce or clunk over bumps.
- Stop and call a professional if you hear grinding, pinging, or sharp snapping noises under load.
- Hire a pro for springs under significant stored tension or when manufacturer specs and safe tools aren’t clearly available.
- Choose professional replacement for deformed, cracked, or heavily rusted springs, and demand licensing, transparent pricing, and written warranties.
Warning Signs Your Garage, Vehicle, or Trampoline Springs Need a Pro
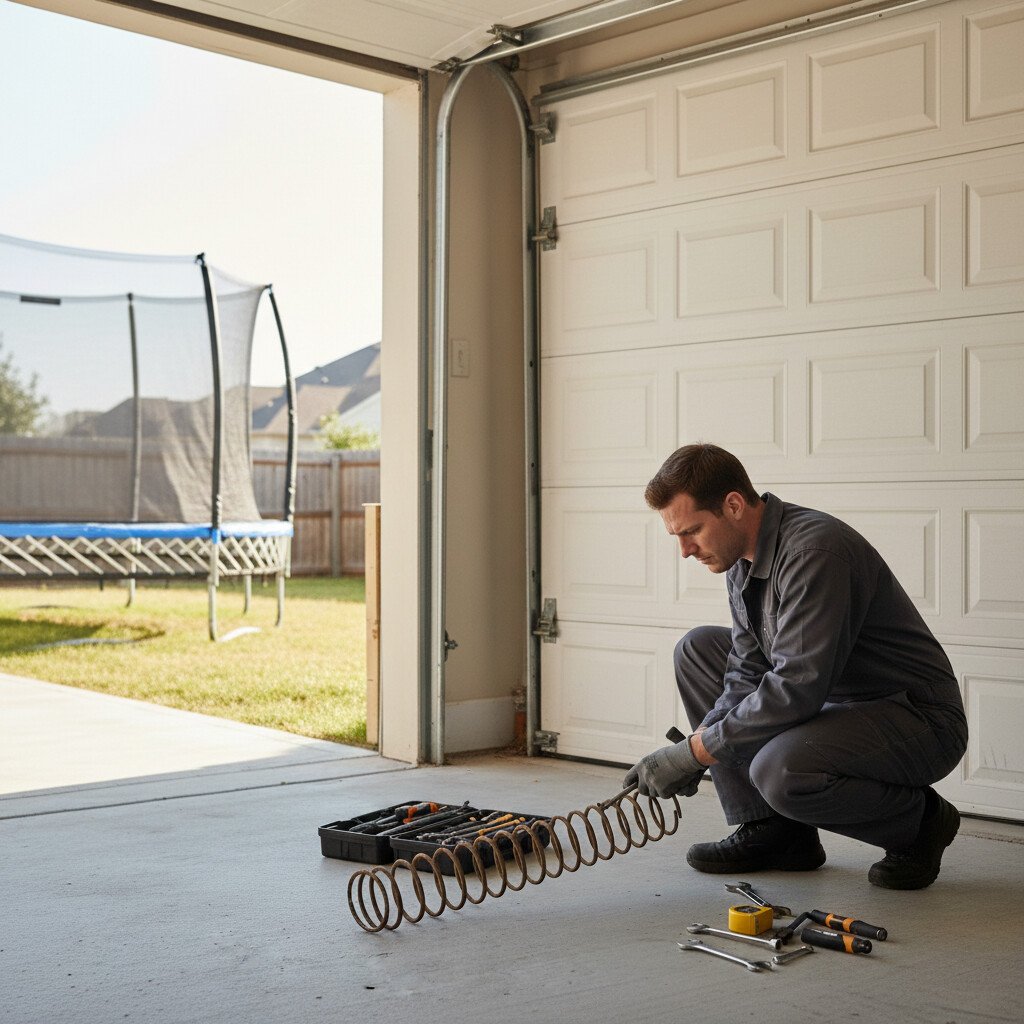
Three red flags tell you it’s time to stop DIY and call a pro: visible damage, abnormal movement, and unsafe noises.
If a garage door spring shows gaps, fraying cables, or rust, don’t cycle it—torsion energy can release violently.
Watch for door drift, uneven lifting, jerks, or a door that feels heavier than normal.
Listen for grinding, pinging, or sharp snaps.
In vehicles, sagging ride height, clunks over bumps, or excessive bounce signal compromised coils or leaf springs.
For trampoline safety, look for stretched or missing springs, torn anchor points, or frame distortion.
Isolate the area, lock out power, and contact a qualified technician.
DIY or Pro? How to Decide
When should you tackle a spring repair yourself, and when should you call a pro? Decide by assessing load, access, tools, and your competency.
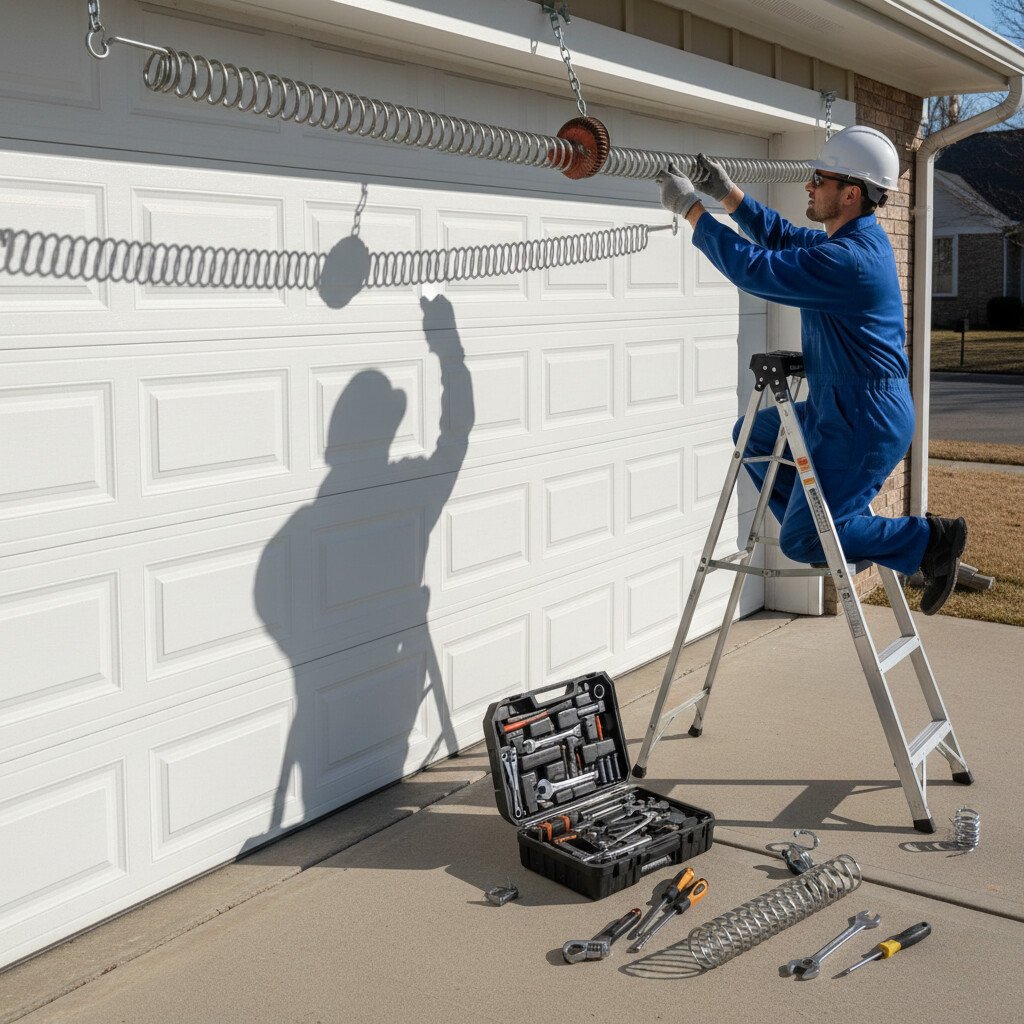
Light-duty springs with no stored load and clear access may suit DIY techniques: measure wire diameter, coil count, and length, replace like-for-like, torque fasteners to spec, apply threadlocker, and verify alignment.
Call for professional expertise when springs bear significant load, integrate with safety interlocks, require precision calibration, or demand specialty tools (winding bars, torque gauges, press fixtures).
If you lack manufacturer data, can’t isolate energy, or detect wear on anchors, shafts, or end fittings, choose a professional.
If you’re leaning toward hiring help, the next step is choosing the right company—not just the fastest one. Use this guide on how to screen a garage door repair company before approving service so you can confirm experience, reputation, and clear written estimates.
Spring Tension Risks You Shouldn’t Ignore
If you opt to handle minor spring work yourself, pause and account for the hidden energy inside a tensioned spring.
Even small mistakes with tensioned parts can cause serious injury or sudden door movement. Before attempting any spring-related DIY, review the real risks of DIY garage door repair and what homeowners underestimate so you know when to stop and call a pro.
Spring tension can release thousands of inch-pounds instantly. Without strict safety precautions, you risk lacerations, fractures, or eye injuries. Misjudged torque, wrong tools, or loose set screws turn routine adjustments into emergencies. Respect stored energy, pinch points, and recoil paths.
- Verify spring type, wire size, winding direction, and cycle rating before touching hardware.
- Use rated winding bars, eye protection, and gloves; never use screwdrivers.
- Lockout/tagout power and secure moving components.
- Measure torque precisely; record turns; stop if binding, fraying, or cracking appears.
Because broken springs create serious safety hazards, professional emergency home garage door repair is often the safest option.
Spring Repair Costs: Quick Fixes, Full Repairs, or Replacement
Two cost paths dominate spring service: targeted fixes that restore function and full replacements that reset lifespan.
Quick fixes address minor issues—lubrication, re-tensioning, cable or bracket swaps. They’re cheaper but may not correct fatigue or hidden cracks. Full repairs replace worn components, align hardware, and recalibrate torque for safe balance.
Your repair cost factors include spring type (torsion vs. extension), wire gauge, cycle rating, door weight, corrosion, access, and emergency scheduling.
Spring replacement options span single-spring to dual-spring upgrades, high-cycle steel, coated or stainless materials, and matched pulleys or bearings.
Choose replacement when coils deform, rust pits deepen, or metal fractures.
Spring work is one cost category, but homeowners often face multiple issues at once—cables, rollers, tracks, or opener strain caused by imbalance. This breakdown of cost ranges by garage door repair type makes it easier to see what else may affect your total bill.
How to Choose a Qualified Spring Repair Technician
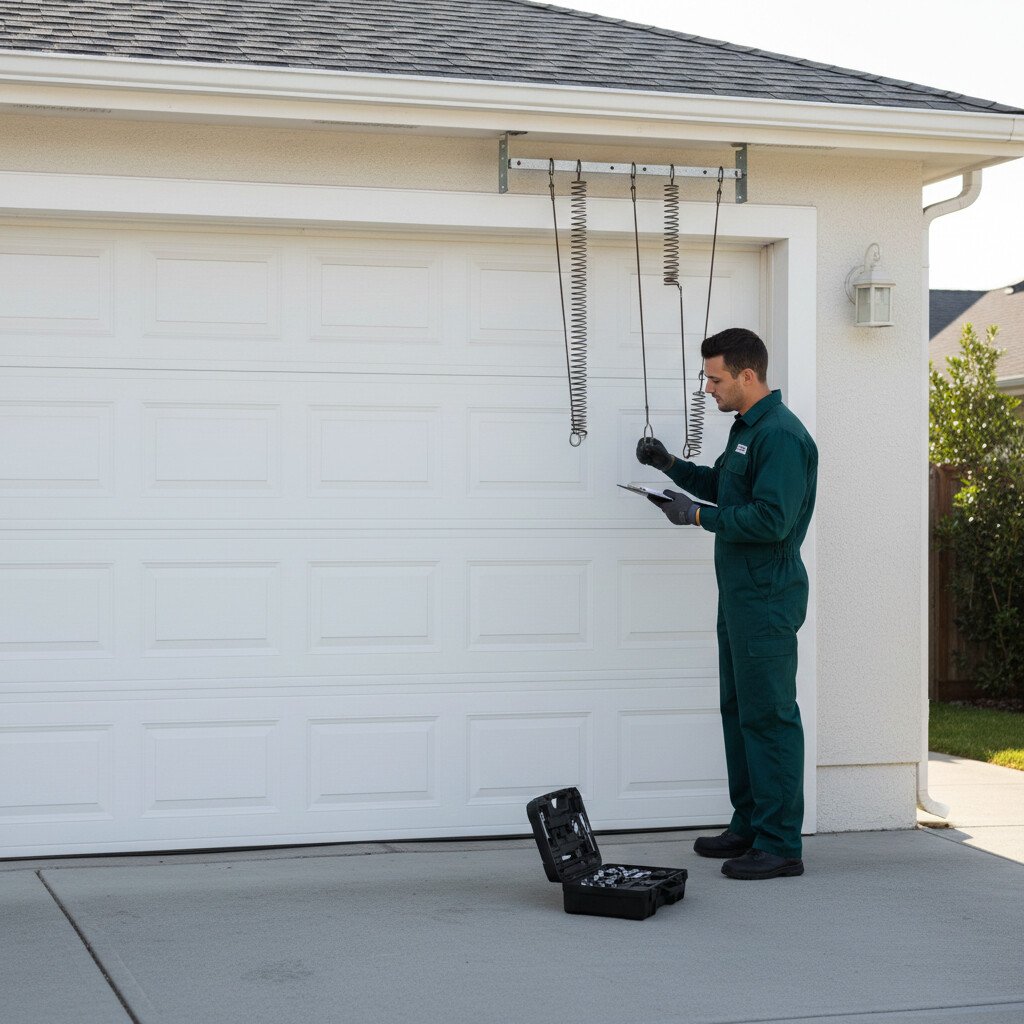
Start by verifying the technician’s licensing and relevant certifications to ensure code‑compliant, safe work.
Confirm they’ve proven experience with your specific spring system and brand, including correct sizing, torqueing, and balancing.
Require a clear written warranty and transparent, itemized pricing before any work begins.
Spring repairs are one of the most common places homeowners get pressured into expensive replacements during “emergencies.” Read how to recognize spring-repair scam tactics before approving work so you can ask the right questions, confirm the diagnosis, and avoid rushed decisions.
Licensing And Certifications
Credentials matter. You reduce risk when you verify a technician’s licensing requirements and certification standards before any spring repair.
Licenses confirm legal authority, liability coverage, and code compliance. Certifications validate training on torque calculations, preload settings, lockout/tagout, and hazard controls. Ask for documented proof and cross-check with issuing bodies.
- Verify state or municipal licensing requirements; confirm active status and insurance.
- Check certification standards (e.g., manufacturer, OSHA, or industry bodies) and current renewal dates.
- Confirm written safety procedures: LOTO, PPE, calibrated tools, and load testing protocols.
- Require traceable service records, model-specific training, and a warranty tied to certified work.
Experience With Your System
One hard filter when choosing a spring repair technician is proven experience with your exact system—door type, spring design (torsion vs. extension), wire size, cycle rating, hardware brand, and opener integration.
Ask for specific jobs matching your setup, measurable results, and safe procedures. A seasoned tech will validate lift balance, cable routing, and opener force limits to protect system performance and user experience.
| What to Ask | Why It Matters | Proof to Request |
|---|---|---|
| Experience with your brand | Parts fit, tolerances | Photo logs, references |
| Wire and IPPT sizing | Correct torque, longevity | Calculations, specs |
| Balancing protocol | Safety, smooth travel | Before/after force data |
| Opener integration | Limits, sensors, sync | Config screenshots |
Warranty And Transparent Pricing
Although skills matter, you should also demand clear warranty terms and upfront pricing before any spring work begins.
Insist on written warranty coverage that specifies parts, labor, exclusions, and claim procedures. Require pricing transparency with itemized estimates, not vague “service fees.” This protects you from unsafe shortcuts, surprise add-ons, and inferior components.
- Verify warranty coverage duration, transferability, and whether recalibration visits are included.
- Confirm OEM or equivalent-rated springs and torque specs documented on the invoice.
- Request a fixed, itemized quote: parts, labor, disposal, emergency surcharge, taxes.
- Ensure failure criteria, response times, and workmanship guarantees appear in the contract.
Preventive Spring Maintenance to Avoid Future Failures
Because small issues escalate quickly, preventive maintenance keeps springs safe, aligned, and within spec before loads or cycles cause failure. You’ll reduce downtime by scheduling preventive inspections, measuring free length, checking rate, and verifying end squareness. Apply spring lubrication compatible with temperature and contaminants. Replace fatigued fasteners, retainers, and isolators. Record cycles to plan preemptive replacement. If you detect cracking, set loss, corrosion pitting, or asymmetric wear, stop operation and call a pro.
| Task | Interval | Action |
|---|---|---|
| Visual check | Weekly | Inspect coils, seats, fasteners |
| Spring lubrication | Monthly | Apply thin, non-gumming film |
| Metrology | Quarterly | Measure rate, free length, preload |
If you want fewer emergencies and longer spring life, prevention is the real win, especially with rust, poor lubrication, and imbalance silently increasing spring stress every cycle. Use this checklist to prevent garage door springs from breaking before small wear turns into a dangerous snap and an expensive repair.
Conclusion
You don’t have to guess—call a pro when you see gaps, frayed cables, uneven lifting, heavy doors, or hear grinding/snapping. You might think DIY saves money, but spring tension can release violently, requiring calibrated tools and precise procedures. A technician can diagnose load, cycle count, and fatigue, then perform safe containment and replacement. You’ll prevent collateral damage to tracks, bearings, or frames and reduce downtime. Schedule routine lubrication and inspections now to avoid emergency failures and higher costs later.