If you’re weighing an old garage door against a new install, start with lifecycle costs, safety compliance, and energy efficiency. New systems often deliver better insulation, quieter drives, and integrated safety sensors, while aging doors risk frequent repairs and code gaps. Factor in R-values, weather seals, opener type, and material durability alongside smart security options. Verify certified, insured installers and understand warranties before committing. Next, compare repair vs replacement thresholds and what current codes require.
Key Takeaways
- Compare lifecycle cost: repairs and downtime of the old door versus purchase, installation, maintenance, and energy savings of a new door.
- New doors improve safety and code compliance with UL 325 sensors, force limits, better track anchoring, and documented installer qualifications.
- Modern insulated doors with tight weatherseals cut heat loss, reduce opener load, and often deliver payback from lower energy and maintenance costs.
- Verify scope and timeline: site survey, framing/header reinforcement, opener calibration, sensor placement, weather-sealing, and cleanup in writing.
- Consider performance and features: quieter belt/direct drives, wind-load ratings, spring cycle life, and secure smart access with rolling-code and WPA2/3.
Before comparing options, it helps to understand how garage door installation works in both new and replacement scenarios.
Cost Comparison: Repairing an Old Door vs. Installing New
Before spending on service calls, calculate lifecycle cost: add annual repairs, downtime, and remaining service life. Compare this to a new door’s price, projected maintenance, and energy impact. If openers strain, panels delaminate, or springs near fatigue, short-term fixes hide recurring costs.
Estimate payback by dividing the price difference by the annual savings from fewer repairs, better insulation, quieter operation, and warranty coverage. Consider parts availability and lead times; outdated hardware increases risk. Replacement also improves sealing, reduces opener load, and lowers vibration.
When three-year repair costs exceed 40–50% of a new system, replacement usually offers better cost and reliability.
To understand why pricing changes between replacement and fresh installs, review garage door installation cost factors that impact labor and hardware.
Safety and Code Compliance: What Has Changed Over Time
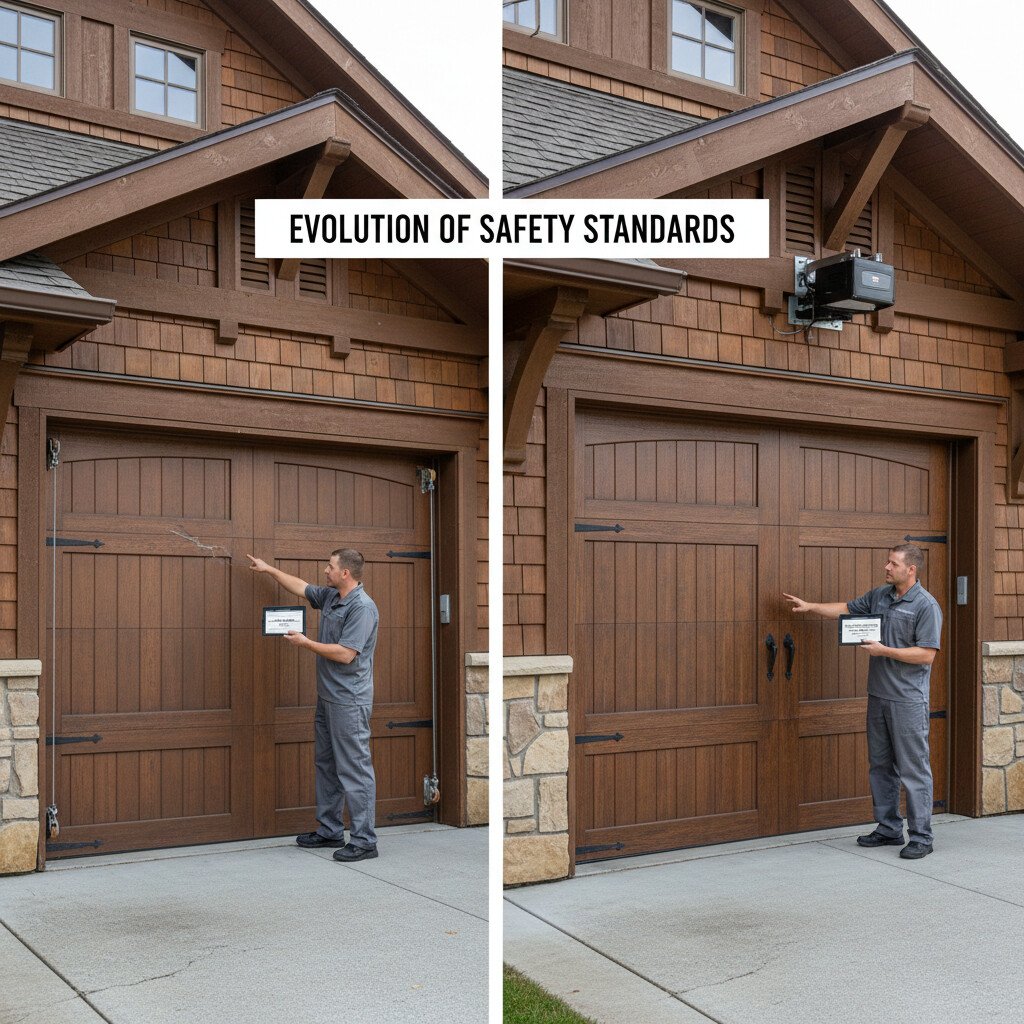
Cost isn’t the only variable; your decision also has to meet today’s safety standards and building codes.
Over the past decade, code updates tightened requirements for photo-eye sensors, automatic reversal force limits, and entrapment protection. You’ll also see stricter specs for track anchoring, spring containment, and opener security.
If your old door predates these changes, you risk unsafe operation and failed inspections.
- Red photo-eyes aligned across the floor, projecting a razor-thin beam
- Torsion springs enclosed with containment cables and labeled cycle ratings
- Heavier-gauge tracks bolted into studs with specified fasteners
- Smart opener with rolling-code encryption and monitored reversing
What should you do? Verify listing labels (UL 325/ANSI/DASMA), test reversal force, and confirm bracket torque specs.
If components lack documentation, replace them. Align with current safety standards before you upgrade aesthetics.
Whether you’re replacing an old door or installing new, following garage door installation safety tips helps avoid the most common high-risk mistakes.
Energy Efficiency and Insulation: R-Values, Seals, and Climate Impact
Seal and insulate garage doors to control heat. Focus on R-value, air seals, and climate. Use polyurethane, polystyrene, or mineral wool. Install continuous weatherstripping, threshold seals, and insulated end caps. Check thermal breaks. Cold zones need high R-value; hot-humid zones need vapour control and corrosion-resistant hardware. Balance the door after upgrades.
Even the best insulated door can underperform if installed poorly, so remember energy efficiency starts with proper garage door installation.
Noise Levels and Performance: Belt vs. Chain vs. Direct Drive
Belt drives are quiet with low vibration but need tension and wear over time. Chain drives are strong and affordable, but louder and need lubrication. Direct drive is precise, reliable, and quiet, but costlier.
Ensure smooth operation with aligned tracks, tight fasteners, and vibration pads. Add safety features like photo-eyes, maintain springs, and test force settings. Match motor horsepower to door weight and calibrate for quiet, smooth travel.
- Soft start/stop motion gliding along a clean rail
- A quiet hum versus a rattling chain under load
- Secure door balance with aligned tracks and tight fasteners
- Vibration isolation pads taming motor resonance
Prioritise safety: add photo-eyes, maintain springs, and test force settings monthly.
Choose horsepower to match door weight, then calibrate for smooth, quiet travel.
Since drive type affects both noise and durability, choosing the right garage door opener can make a major difference in everyday performance.
Materials and Durability: Steel, Wood, Aluminum, Fibreglass, and Composites
Before you choose an opener, match the door material to your climate, security needs, and maintenance tolerance because durability starts with the slab.
Galvanised steel with a baked-on finish resists impact and intrusion; pick at least 24–25 gauge, with polyurethane foam (R‑value ≥ 12) for thermal stability and stiffness.
For wood longevity, specify rot-resistant species (cedar, mahogany), factory sealing on all edges, and stainless fasteners; expect periodic refinishing.
Aluminium reduces corrosion risk in coastal zones; prioritise thicker extrusions, thermal breaks, and diligent aluminium maintenance to prevent galvanic reactions.
Fibreglass skins over foam cores handle dents and salt, but can fade—UV topcoats help.
Composites (fibreglass-wood or polymer-wood) deliver low upkeep and stable dimensions.
Always verify wind-load ratings, hinge reinforcement, and balanced springs.
Smart Features and Security: Cameras, Sensors, and Access Control
You can upgrade security by specifying integrated camera monitoring that records motion events, supports HDR night vision, and stores encrypted clips.
You should pair this with secure smart access control using rolling-code openers, MFA-enabled apps, and unique guest PINs.
During installation, confirm WPA2/3 Wi‑Fi, firmware auto‑updates, and tamper alerts to maintain a hardened setup.
Integrated Camera Monitoring
Two core goals drive integrated camera monitoring on a new garage door: real-time situational awareness and secure, controlled access.
You gain integrated monitoring that links the opener, motion sensors, and Wi‑Fi camera into one event timeline. Camera benefits include instant alerts, visual verification, and recorded evidence for liability or insurance.
Choose 1080p or higher resolution, HDR for glare, infrared for night, and a 140°–160° field of view. Position the lens to cover the threshold and driveway approach, not public streets.
Harden security: WPA3 Wi‑Fi, unique credentials, firmware auto‑updates, and encrypted cloud or local storage with retention policies.
- Crisp night view of the driveway apron
- Time-stamped clips of door cycles
- Push alert with live thumbnail
- Zoomed plate capture at dusk
Secure Smart Access Control
While cameras give you eyes on events, secure smart access control governs who can operate the door and when. You set time-based permissions, require multi-factor authentication, and log every entry. Pair the opener with smart locks to harden the perimeter, then enable remote access only through encrypted channels. Use unique credentials per user, rotate them, and disable lost devices immediately. For legacy doors, add a secure controller that supports rolling codes and TLS.
| Feature | Why it matters | Implementation tip |
|---|---|---|
| User roles | Limits risk | Assign homeowner/admin vs guests |
| Time windows | Prevents off-hour entry | Schedule contractor access |
| Geofencing | Reduces false opens | Require device + proximity |
| Audit logs | Incident traceability | Retain 90 days minimum |
| Fail-safe modes | Safety in outages | Auto-lock; manual override |
Test backups, update firmware, and document procedures.
Aesthetics and Curb Appeal: Styles, Windows, Colors, and Hardware
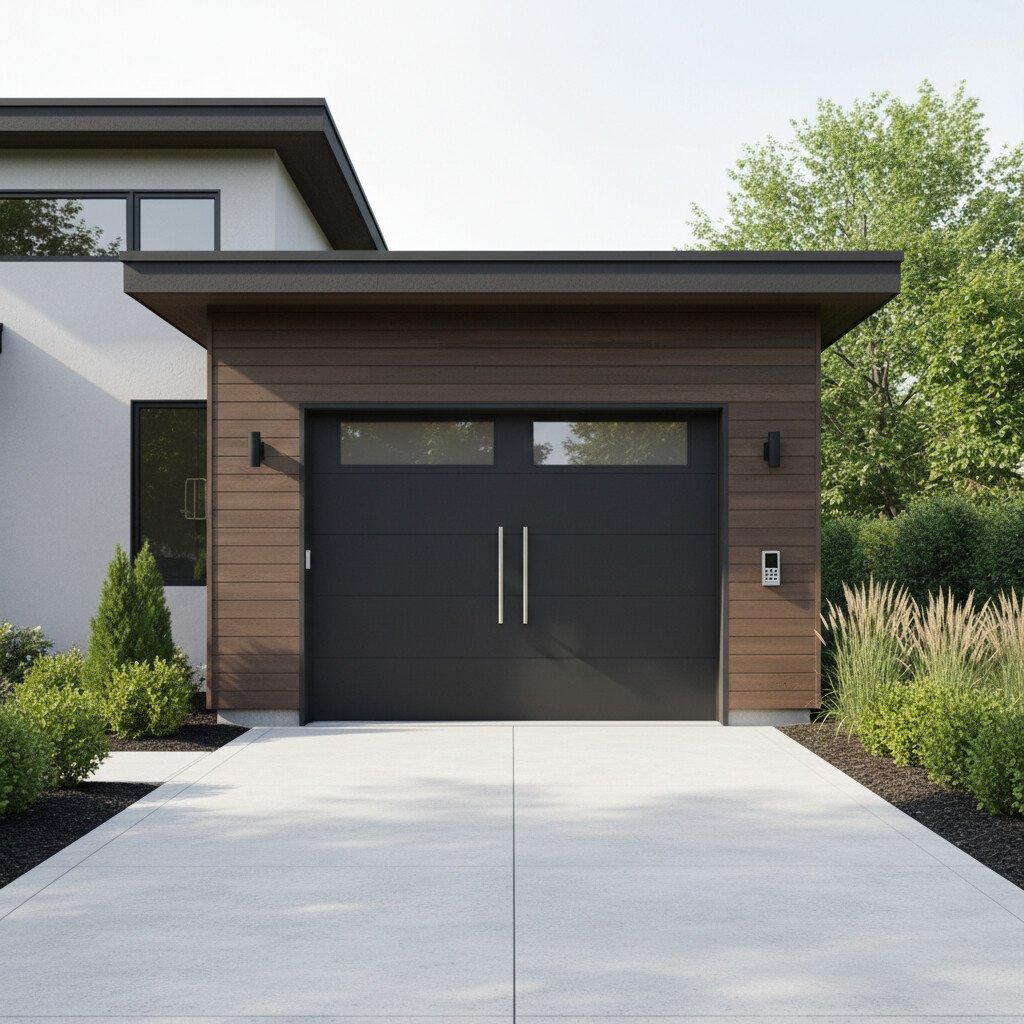
Although performance drives selection, a garage door’s aesthetics set the home’s visual baseline and can influence property value.
You balance form with function by choosing styles, window layouts, colour palettes, and hardware that align with current design trends and local climate demands. Match panel profiles (flush, recessed, carriage) to your architecture.
Specify tempered, insulated, or laminated glass for windows to control light, privacy, and impact resistance. Select factory finishes with UV-stable coatings to reduce fading. Choose corrosion‑resistant hinges, handles, and struts to maintain alignment and safety.
- Sleek flush panels in graphite grey, paired with narrow lites
- Warm wood‑grain steel, black frames, satin‑etched glass
- Coastal white carriage style, arched windows, stainless accents
- Modern charcoal, horizontal windows, minimal hardware
Verify wind-load ratings, avoid overloading springs with heavy decorative kits, and confirm compatibility before purchase.
Choosing an Installer and Warranty: What to Ask Before You Sign
Check installer qualifications: certification, licensing, insurance, and training on springs, tracks, and openers. Verify safety, load testing, and disposal practices; request references and photos.
Clarify scope in writing: survey, framing, header reinforcement, weather-sealing, opener calibration, and sensors. Confirm timeline and cleanup.
Review warranty: coverage for panels, hardware, springs, opener, and labour; start date, transferability, exclusions, and required maintenance. Know who handles claims and response times. Get all terms on the invoice.
If you’re unsure about the risk or warranty coverage, this guide on DIY or hire a pro can help you decide the safest route.
Conclusion
You weigh patching yesterday’s mechanics against installing today’s engineered system: lower upfront vs. lower lifecycle cost, legacy springs vs. tamper-resistant hardware, thin panels vs. high R‑values and tight seals. You trade noisy chains for belt or direct drive, guesswork for photo-eyes and smart access logs, dated facades for durable, warrantied finishes. Choose certified, insured installers, verify code compliance, and specify materials, insulation, and safety devices. In doing so, you replace recurring risks with predictable performance—and secure, efficient operation.